New CCDA #
Face Sheet > Transition of Care tab > Patient CCDA
Example Task #
Would you like to create a CCDA file for a particular patient. Then you can do the TOC tab.
Instructions #
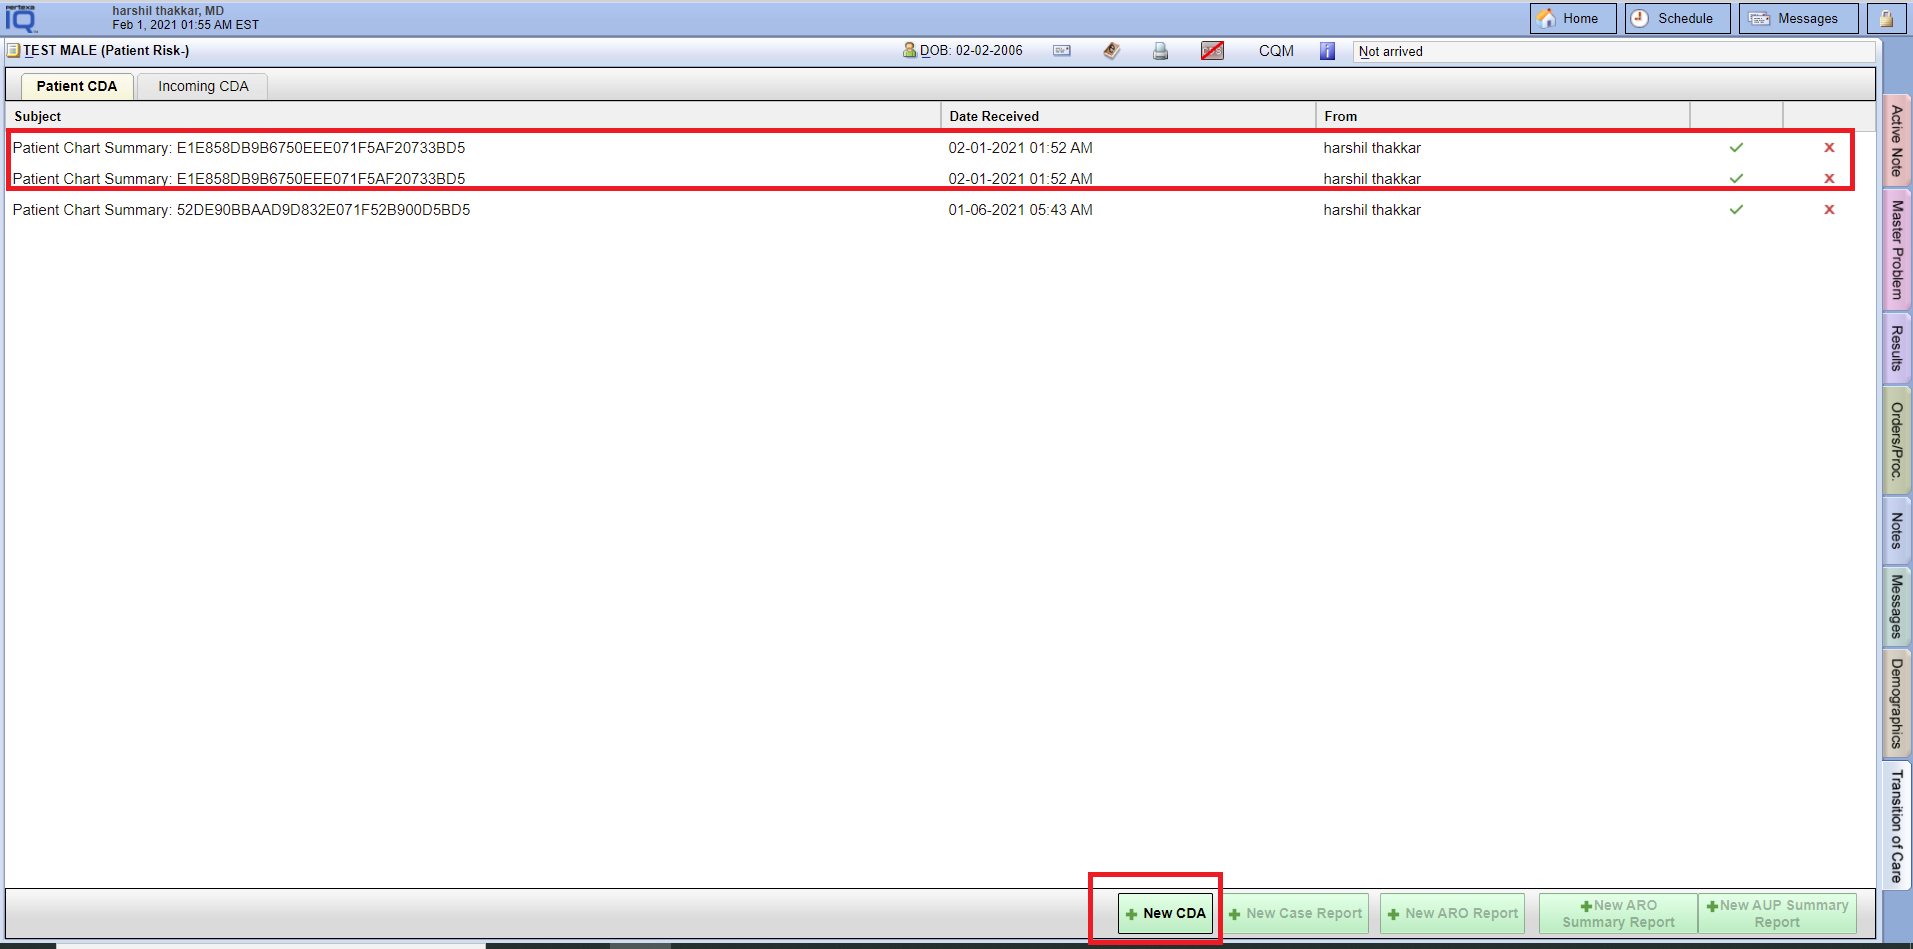
- Would you create a New CDA file then select New CDA button. And check above in the list. It could be generated with today’s date.
Send #
Face Sheet > Transition of Care tab > Patient CDA > Add Referral > Send
Example Task #
Would you like to send the CDA file to another person which you have generated.
Note:- Email address should be secured.
Instructions #
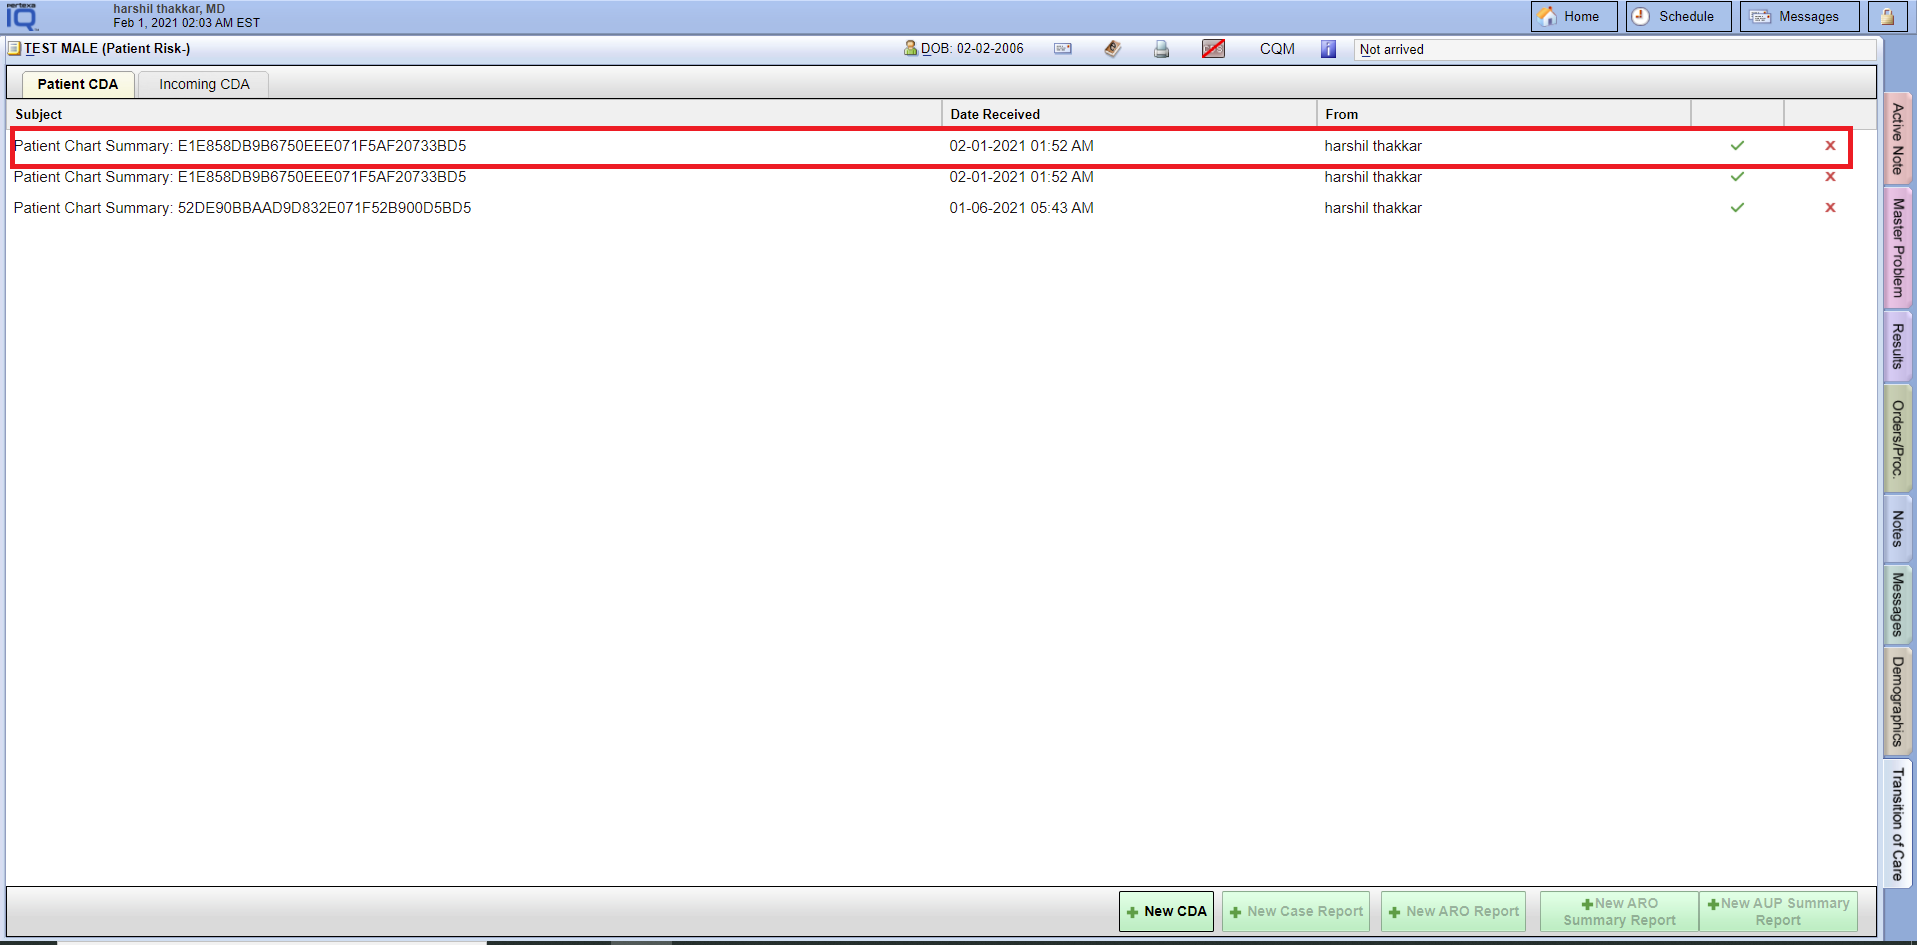
- Select the particular CDA file which you want to send to another person.
- Go to the referral section and select the Add Referral. Here you will be able to find contact or add new contact information.
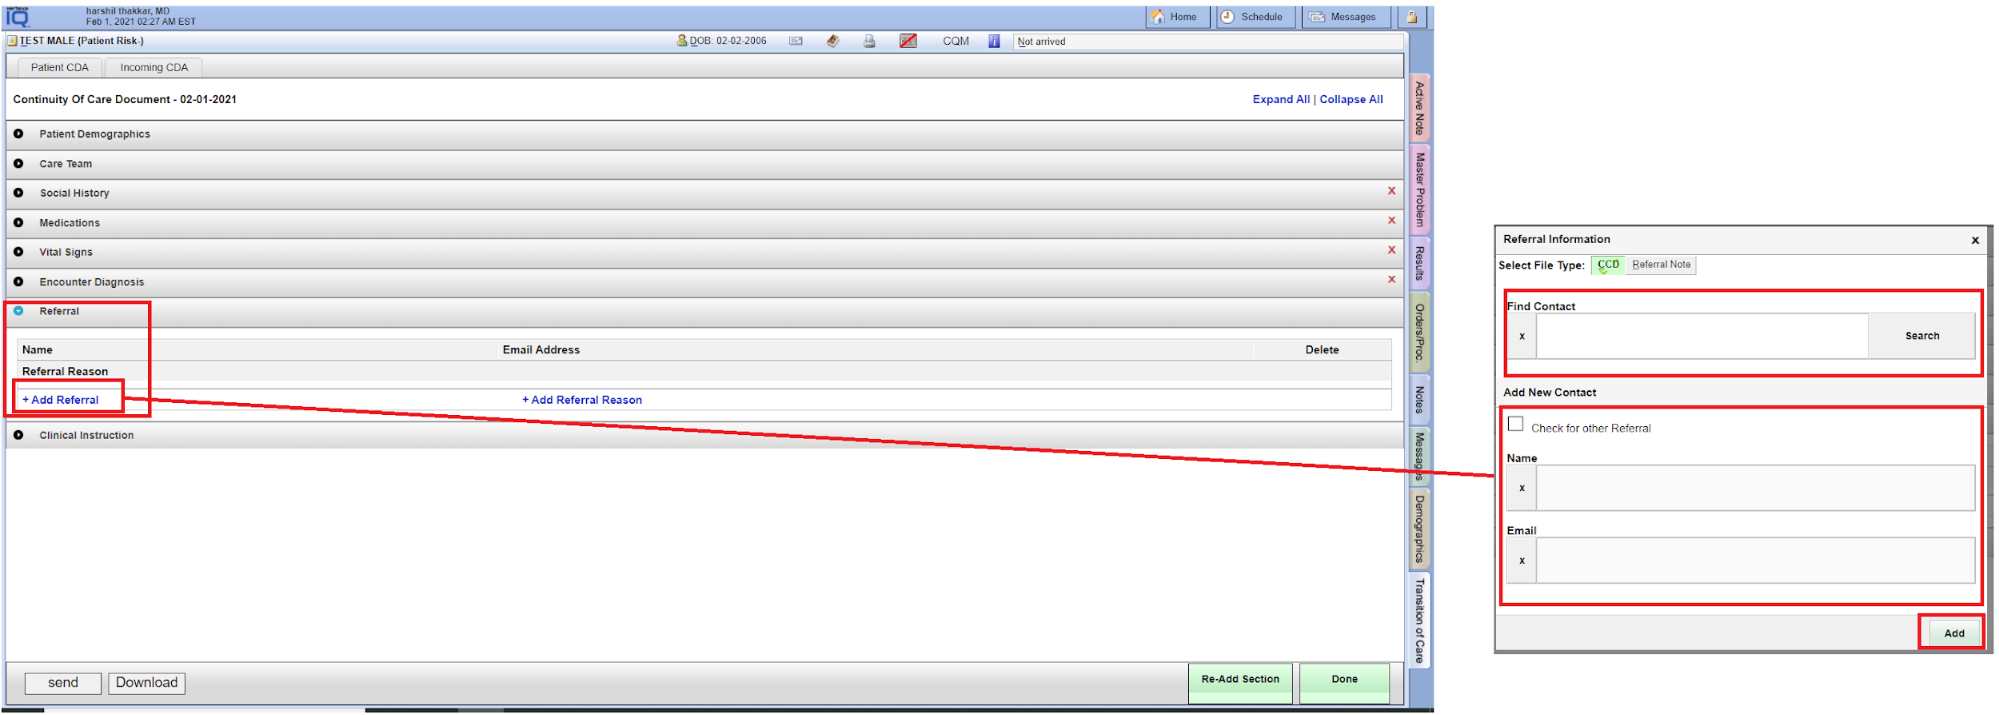
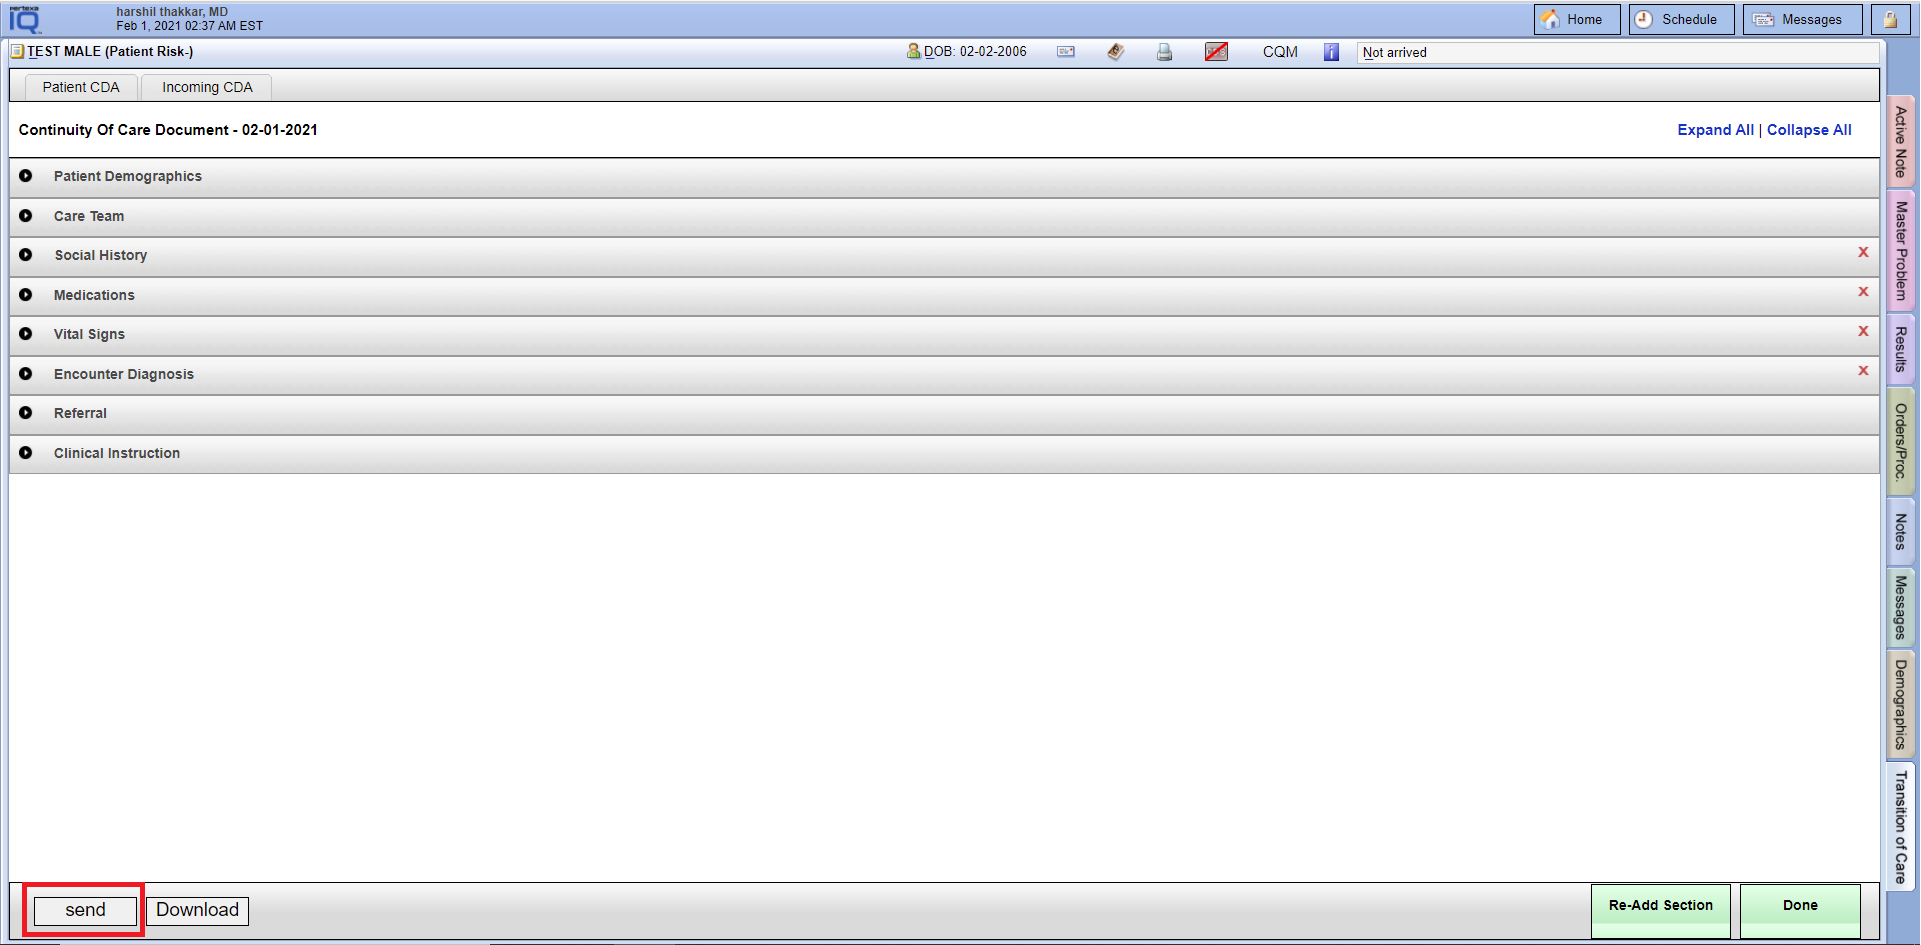
- Finally select “Send Button” at right hand side.
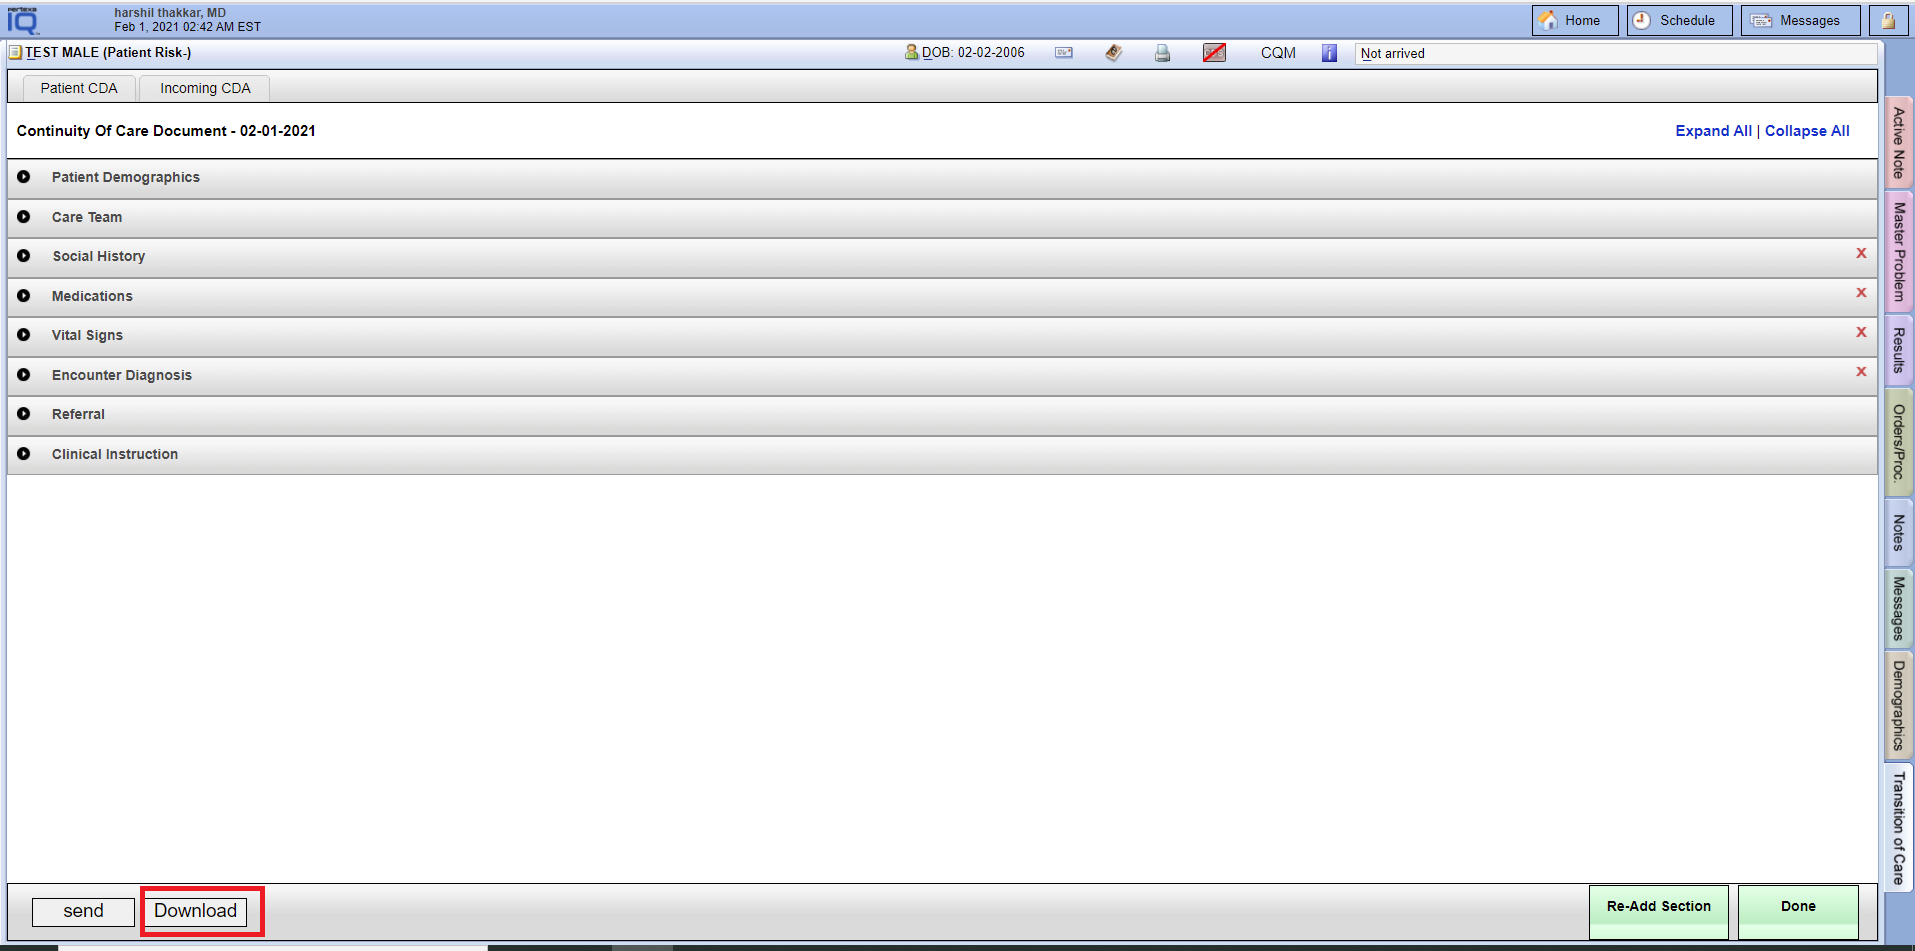
Download #
Face Sheet > Transition of Care tab > Patient CDA > Download
Example Task #
Would you like to download the CDA file.
Instructions #
- Select the particular CDA file which you want to download.
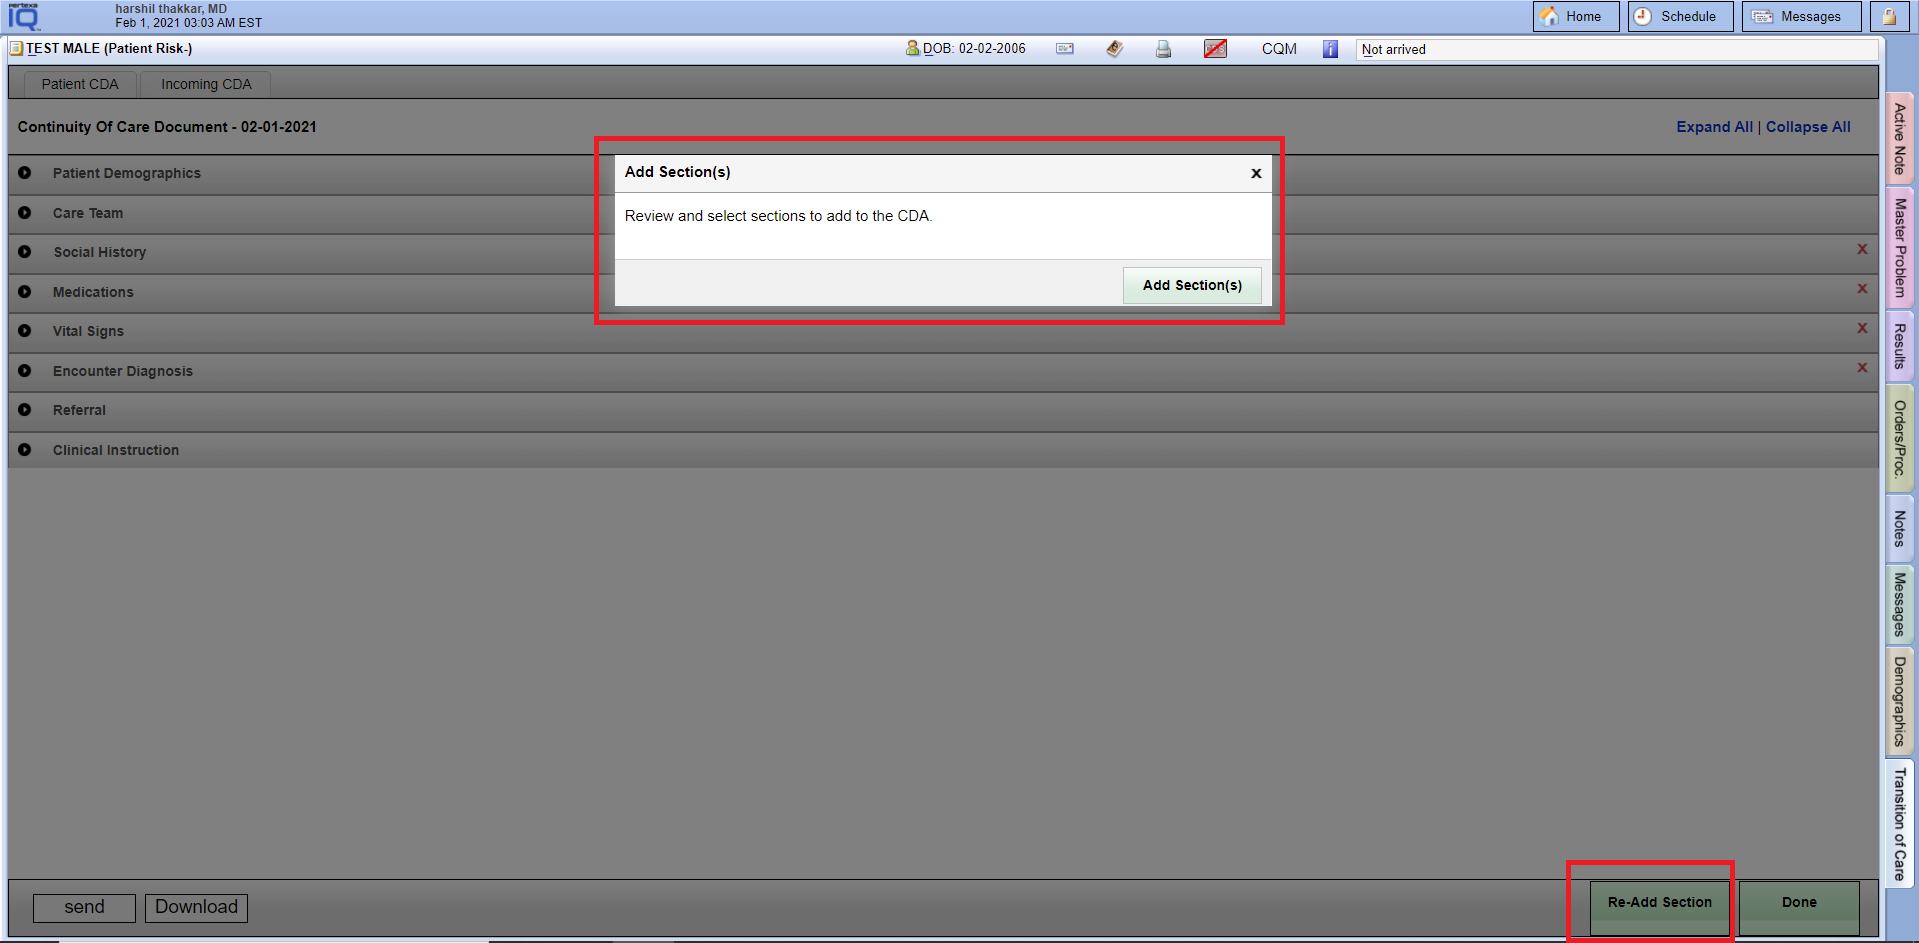
Re-Add Section #
Face Sheet > Transition of Care tab > Patient CDA > Re-Add Section
Example Task #
Would you like to add the Re-Add Section.
Instructions #
- Select the particular CDA file which you want to add the Re-Add Section.
- Here you are able to add a new section with “Re-Add Section”.
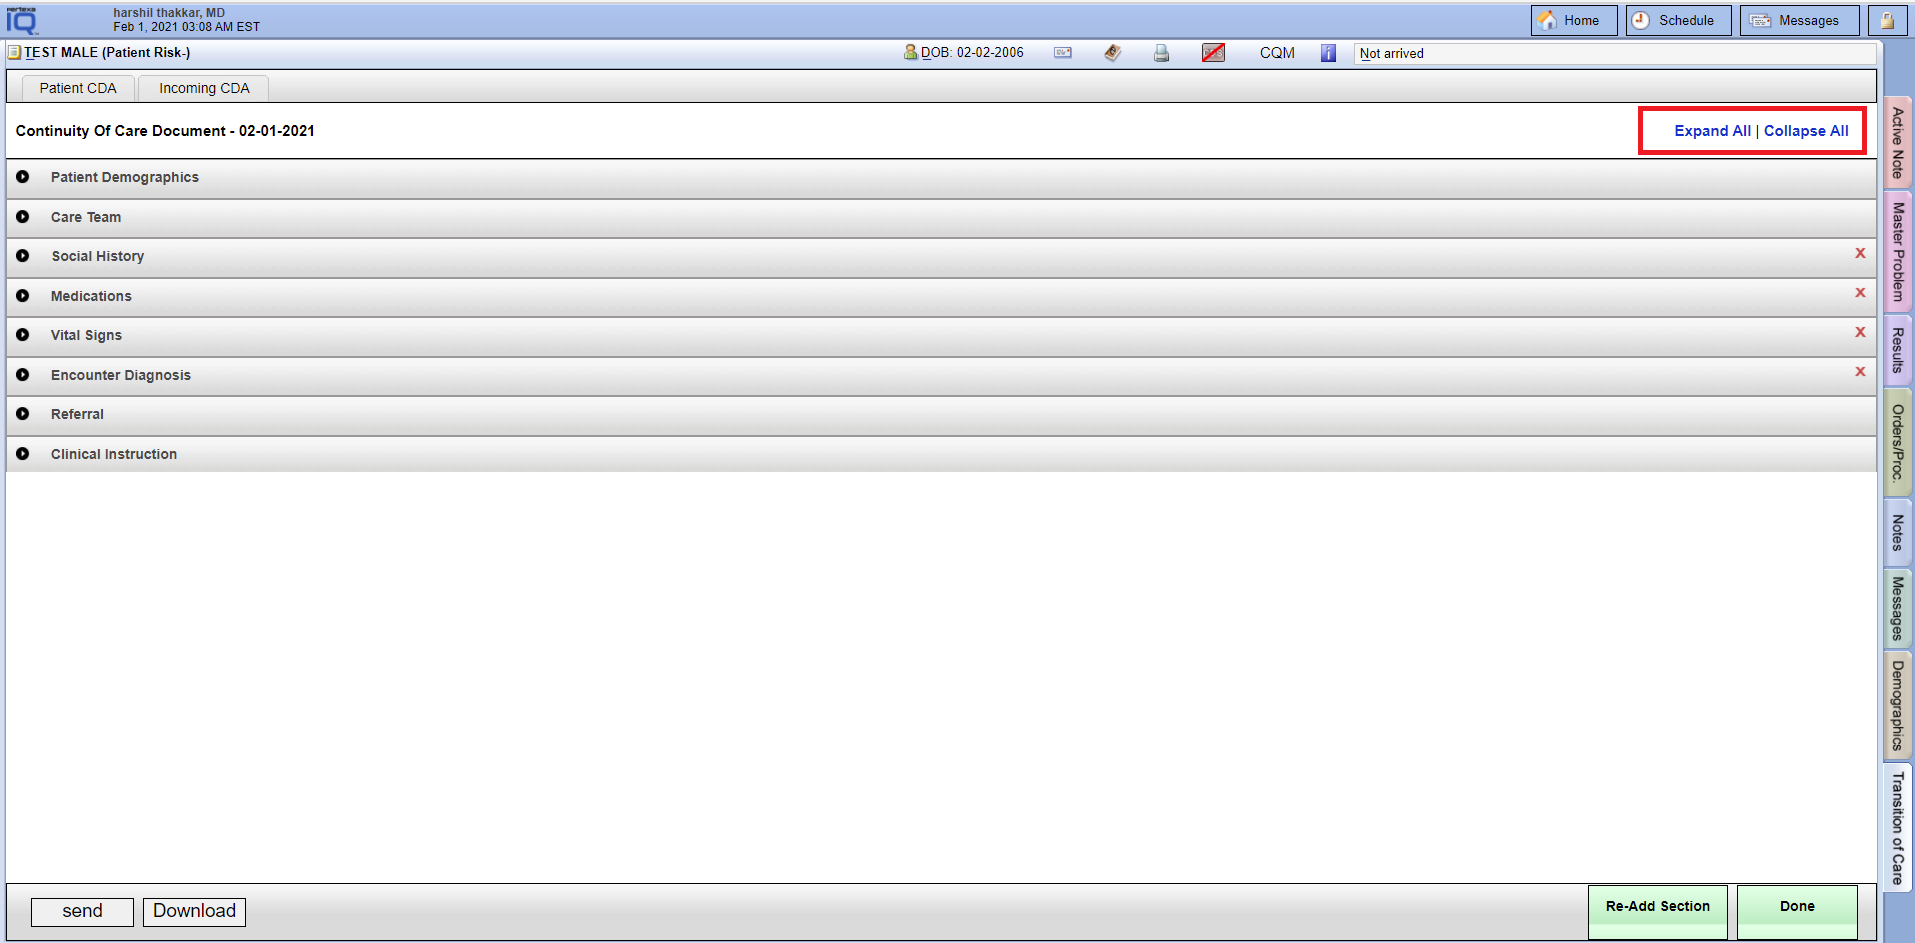
Expand All / Collapse All #
Face Sheet > Transition of Care tab > Patient CDA
Example Task #
You want to see or hide contains with Expand All – Collapse All Button.
Instructions #
- You want to see or hide contains with Expand All – Collapse All Button.
Incoming CDA #
Face Sheet > Transition of Care tab > Incoming CDA tab
Example Task #
Would you like to outside CDA file merge with an existing patient in the clinic.
Instructions #
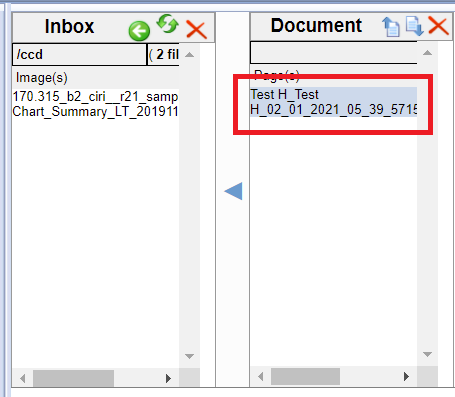
- Login into Records Manager Module. Select “Create Documents” link.
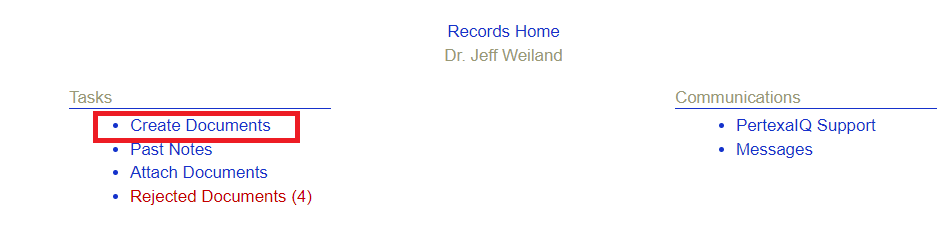
- Find your .xml file in the INBOX section and move into the DOCUMENT section.
- And Select the Information regarding instruction at bottom left hand corner in the page. Note:- Patient should be the same in .xml file and which you have selected patient for going to merge. Select Transition of Care link with “Yes” green tick mark.
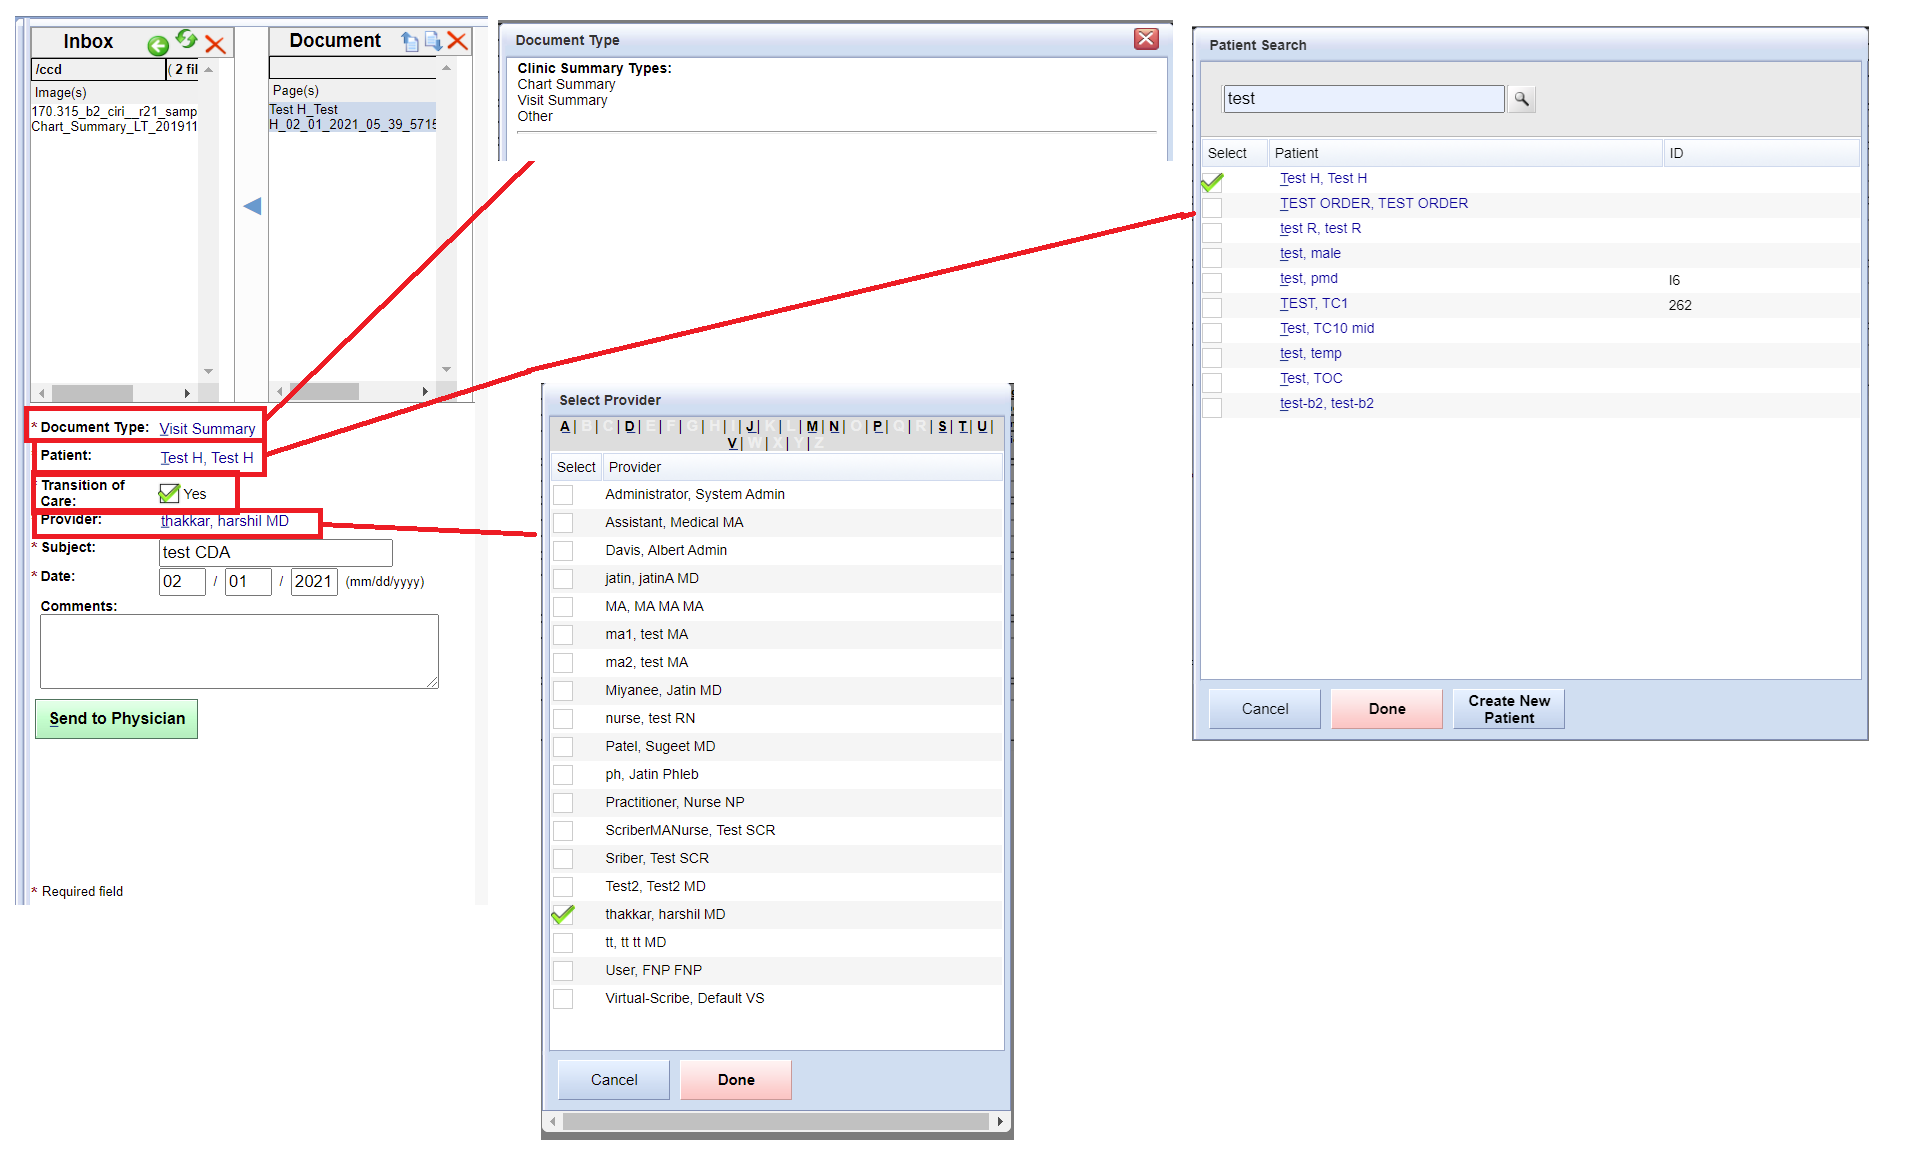
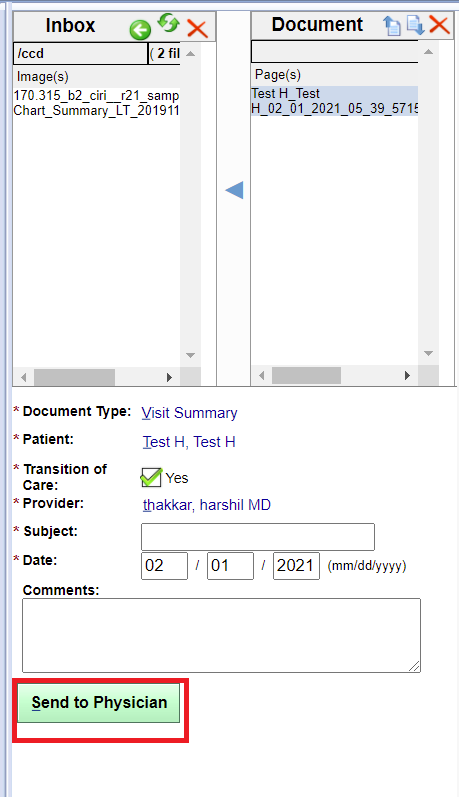
- Finally select the “Send to Physician” button.
- Login into Docpad. Navigate to the Transition of Care tab at the right hand – bottom side of the Face Sheet page. Select Incoming CDA tab.
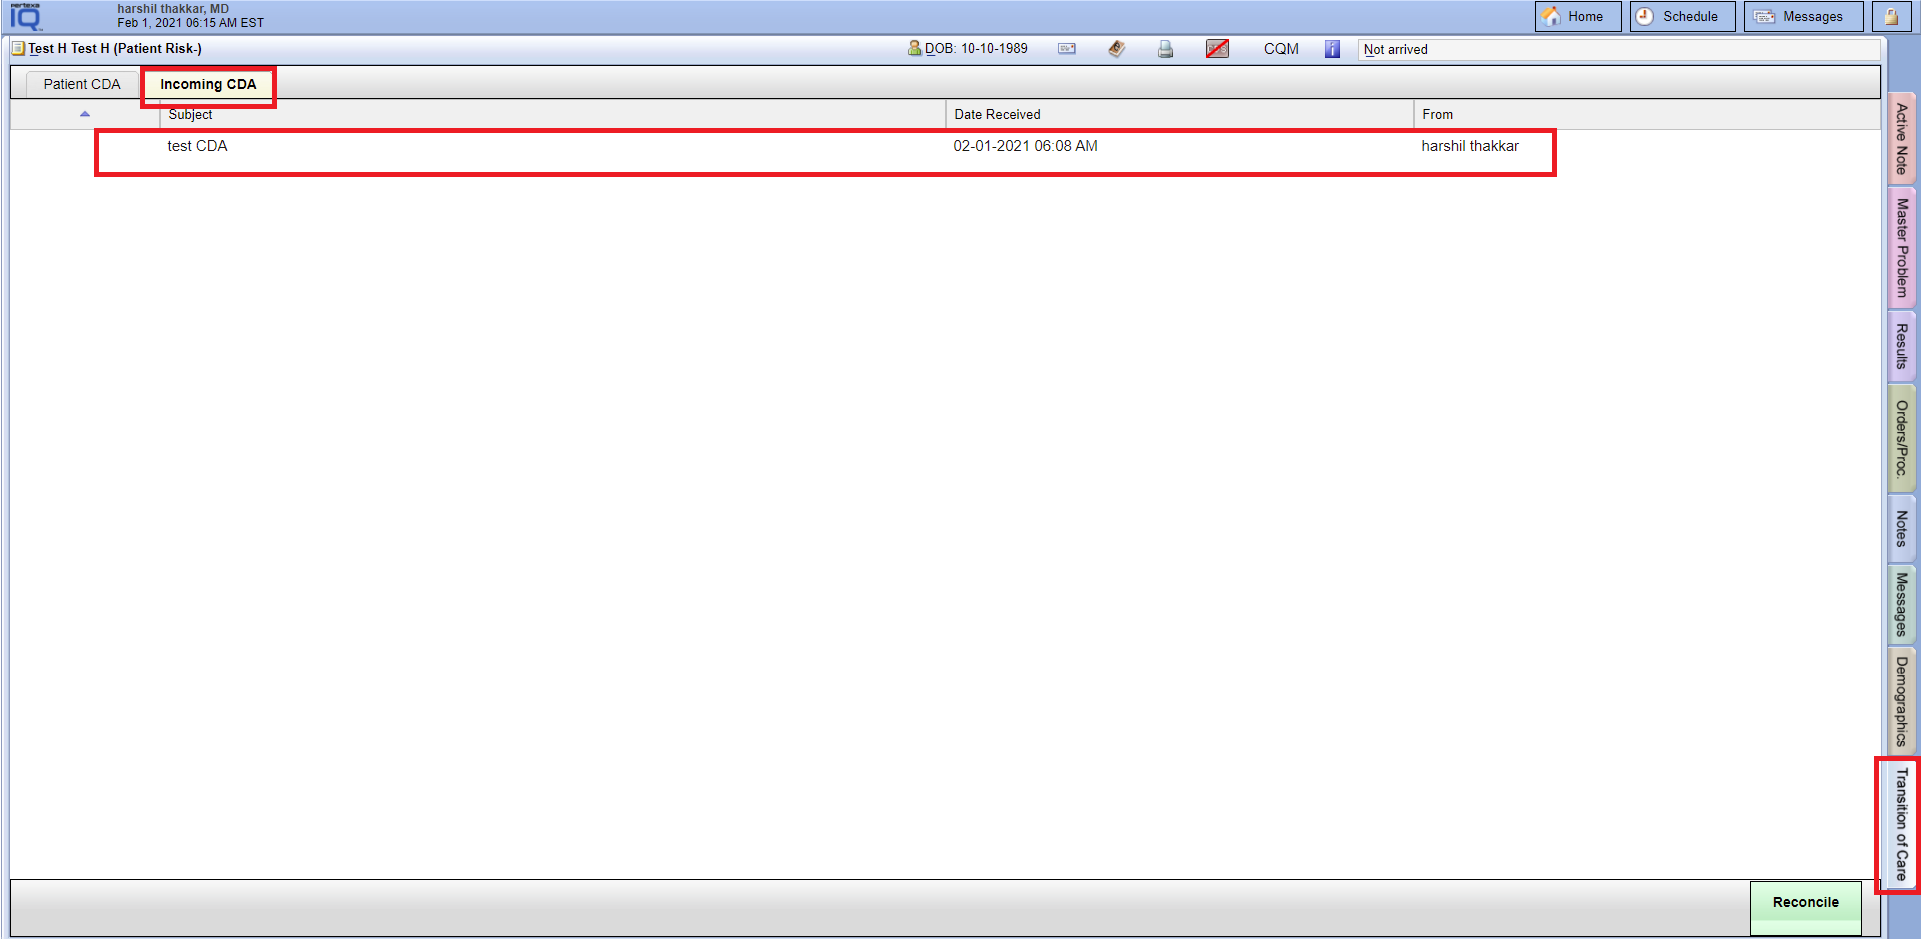
Here your file will display which you have sent through the Records Manager Module.
Reconcile #
Face Sheet > Transition of Care tab > Incoming CDA tab
Example Task #
Would you like to merge this CDA file with an existing patient.
Instructions #
- Select the “Incoming CDA tab”. And select the particular file.
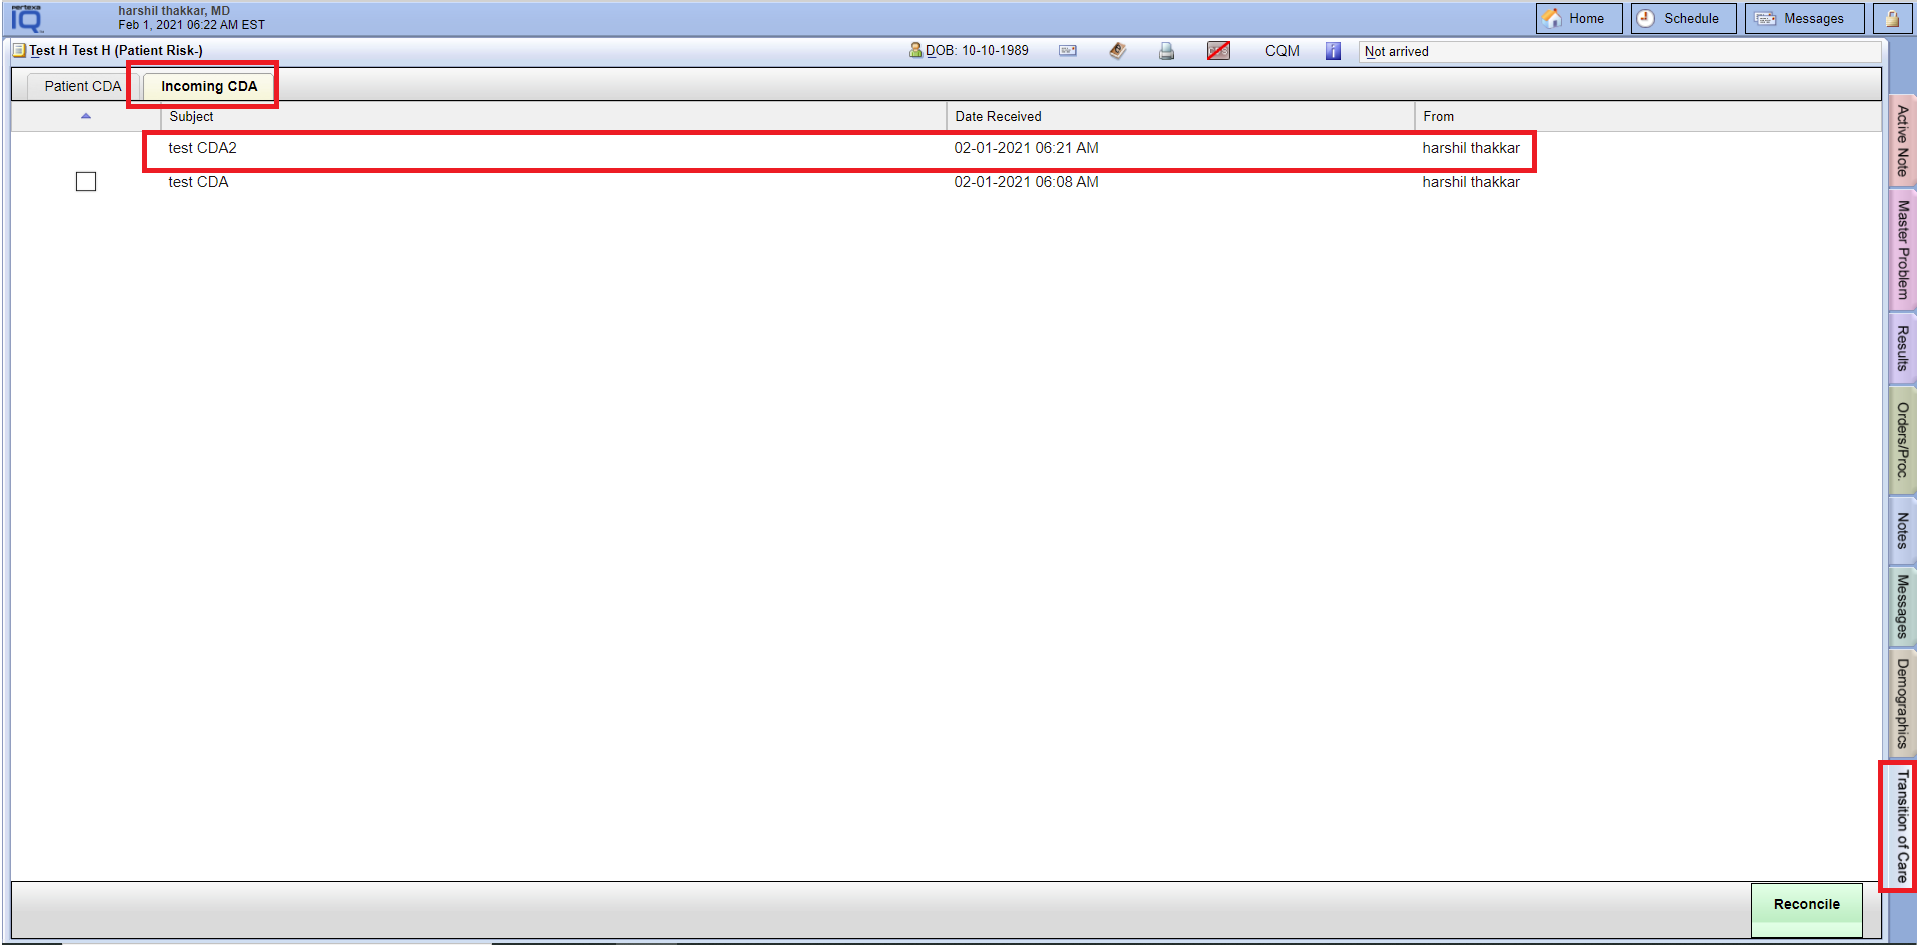
- Here you can “Accept” or “Reject” this file at the right hand bottom corner in the page.
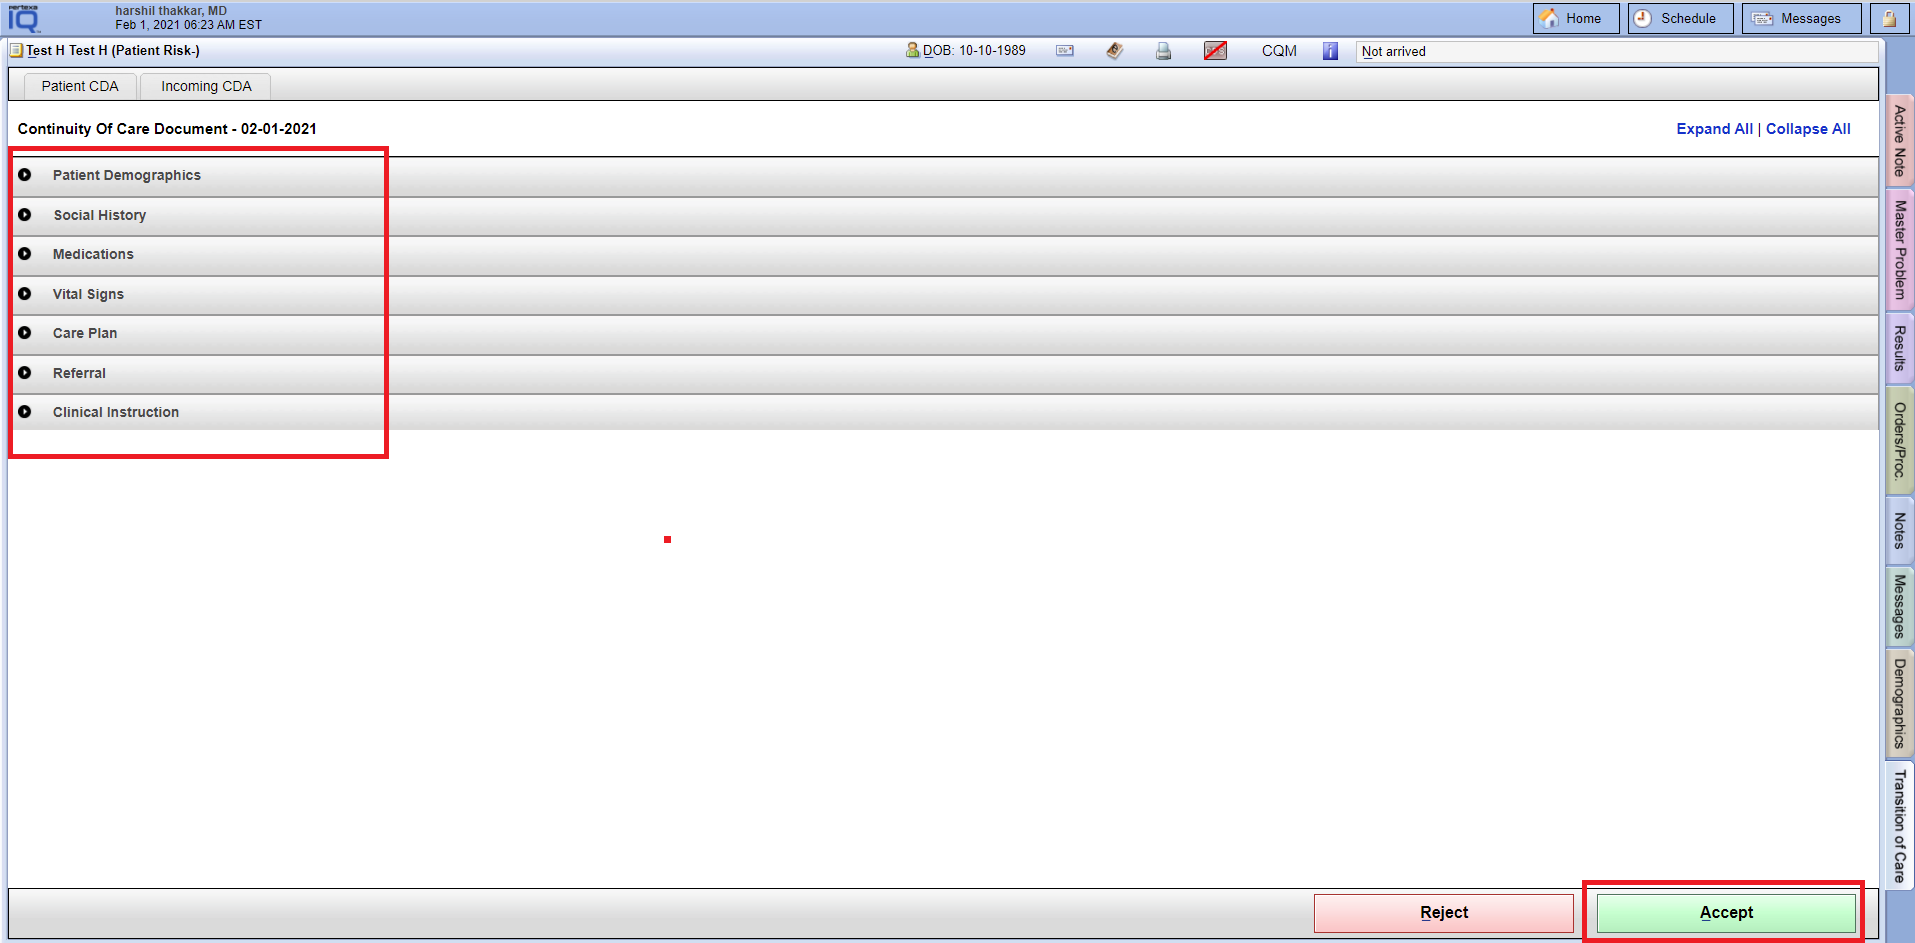
- After selecting the “Accept”. Here you can see one check box will appear for selecting this file for reconciling.
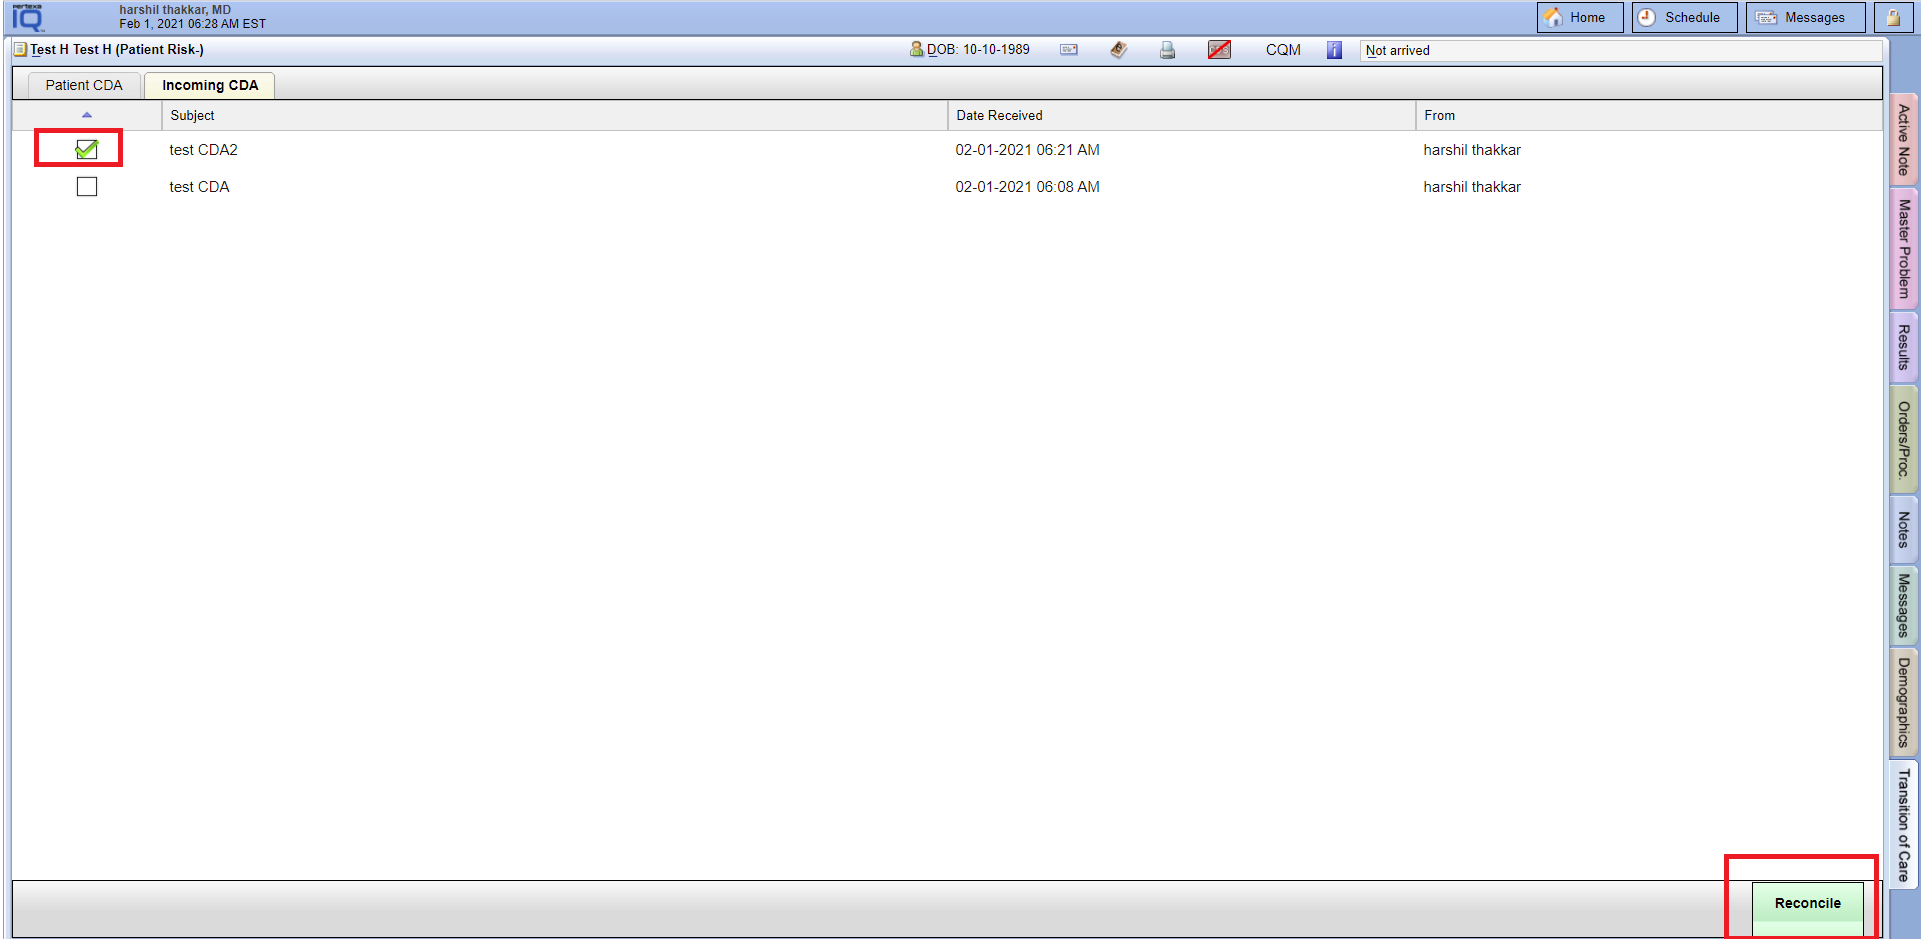
- After selecting file. Finally select the “Reconcile” button right hand bottom corner in the page.


