Store Details #
My Store Dashboard > Settings > Store
Section Summary #
This is where you include all of the information about your clinic. Also includes a bit of information about the clinicians that work there.
Instructions #
- Complete the various text fields. This information will be available under the header for your shop page, as seen below

- Do not select “Enable opening hours” or “Enable vacation mode.” These options are instead controlled by the clinician/resource schedule, as set up here

- You can add a store notice that displays at the top of the shop page by selecting “Enable Store Notice.” Add the content you would like to be displayed in the notice. You can include links by highlighting the text you want to apply the link to and then clicking the link icon as displayed here

- Select “Save Changes” when finished to save your progress
Store Payment Details #
My Store Dashboard > Settings > Payments
Section Summary #
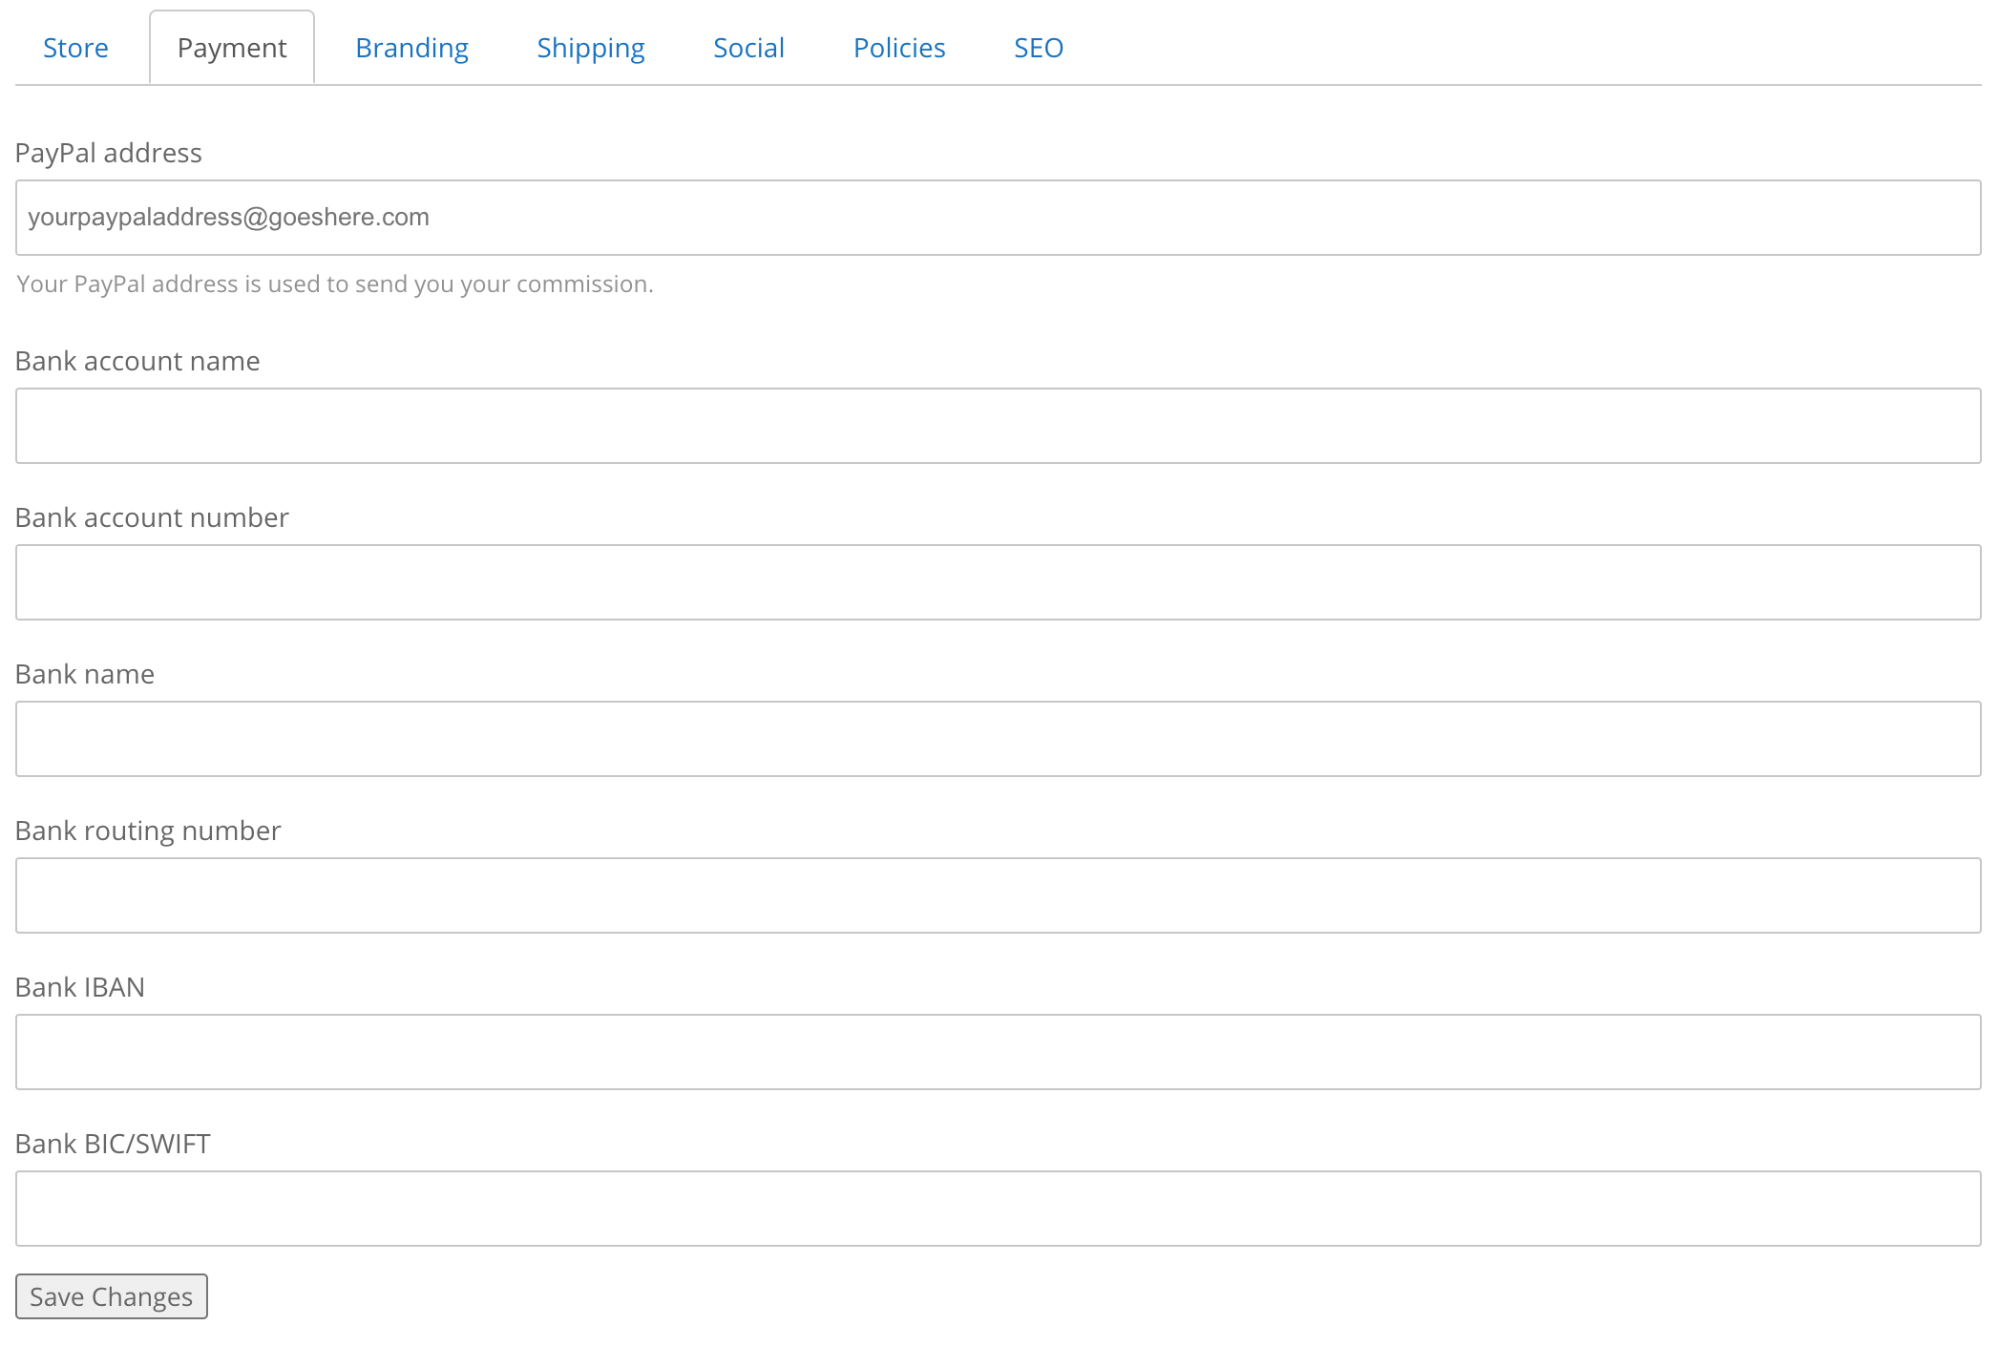
This is where you add your payment details. Pertexa uses this information to send your earnings to you.
Instructions #
- Complete the various text fields. You do not require a PayPal account, but we recommend having both a PayPal account and bank account details added so there is no lapse in payment to you

- Select “Save Changes” when finished to save your progress
Store Branding #
My Store Dashboard > Settings > Branding
Section Summary #
This is where you add your store icon/logo and banner. The store icon will be used on all emails sent to your patients letting them know that they purchased the product from you. If there is no icon or banner added, it will display the following

Instructions #
- Select the “Add Store Banner” link and upload a banner. We recommend the dimensions 1048 x 250 pixels for the banner. If you do not have a banner and would like to create one, you can build one using the free service Canva.com
- Select the “Add Store Icon” link and upload an icon. This logo should be 250 x 250 pixels. If you do not have a icon and would like to create one, you can build one using the free service Canva.com
- Select “Save Changes” when finished to save your progress
Store Shipping Details #
My Store Dashboard > Settings > Shipping
Section Summary #
This is where you set the shipping settings for your store. This information is used when sending physical products to your patients’ purchase. Shipping information added here is applied to all simple products unless it is overwritten at the product level here
Instructions #
- Complete the various text fields. You can see more in depth information about each field by clicking the link here
- Select “Save Changes” when finished to save your progress
Store Policies #
My Store Dashboard > Settings > Policies
Section Summary #
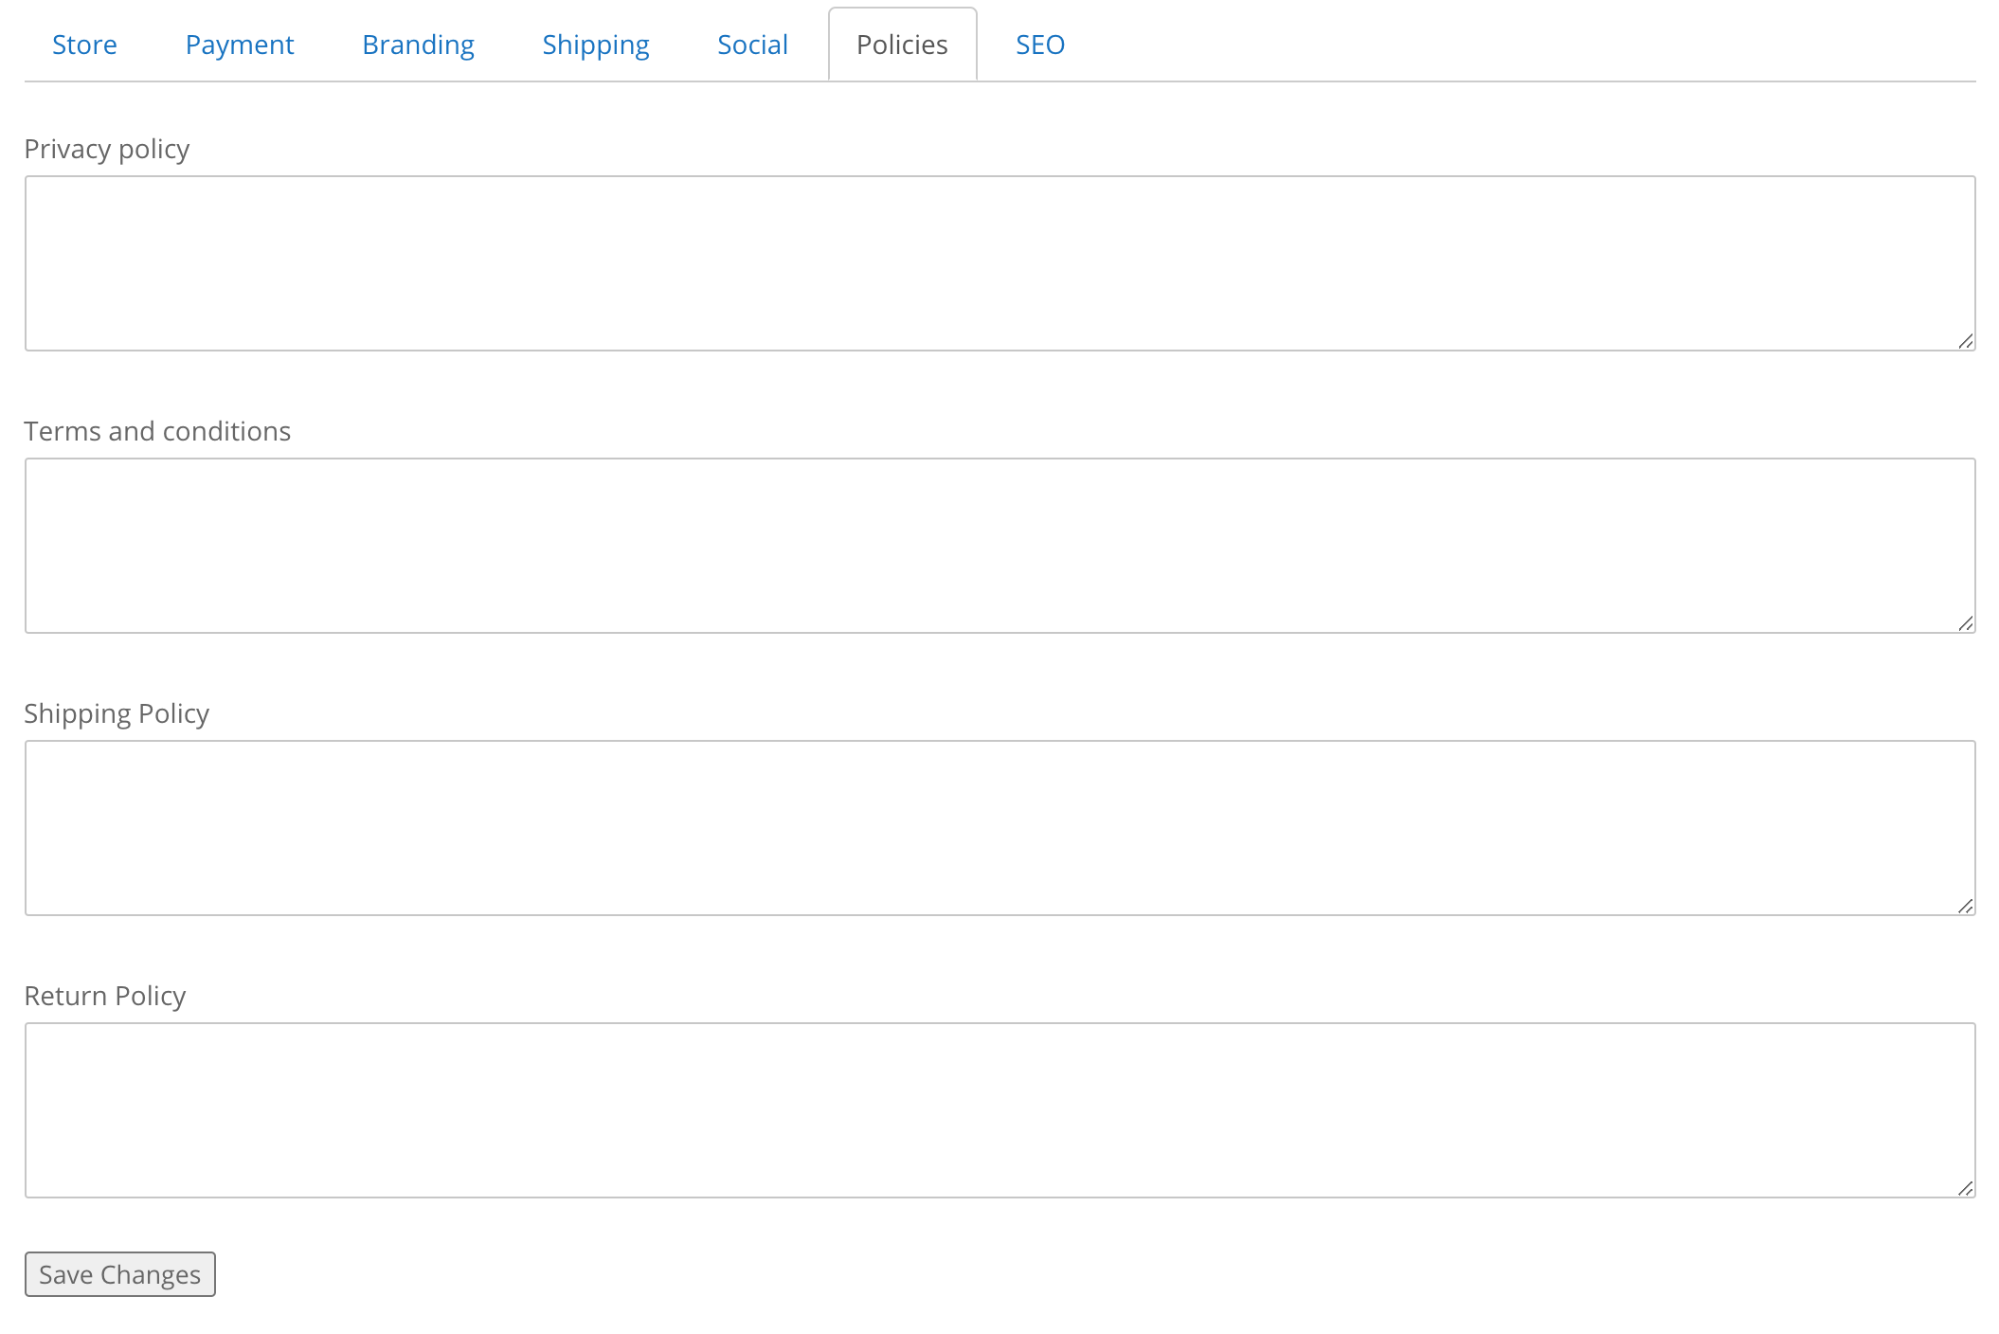
This is where you add all of your policies for your store. Policies include:
- Privacy Policy
- Terms and Conditions
- Shipping Policy
- Return Policy
Instructions #
- Add your policies for the sections included.

- Select “Save Changes” when finished to save your progress


