Add A Physical Product #
My Store Dashboard > Products > Add Product
Example Task #
You sell an electronic blood pressure cuff at your practice to patients and you want to add the option for your online patients to purchase this product as well. NOTE: You are responsible for sourcing, purchasing and shipping these products yourself. Pertexa does not offer physical products for you to sell to your patients.
Instructions #
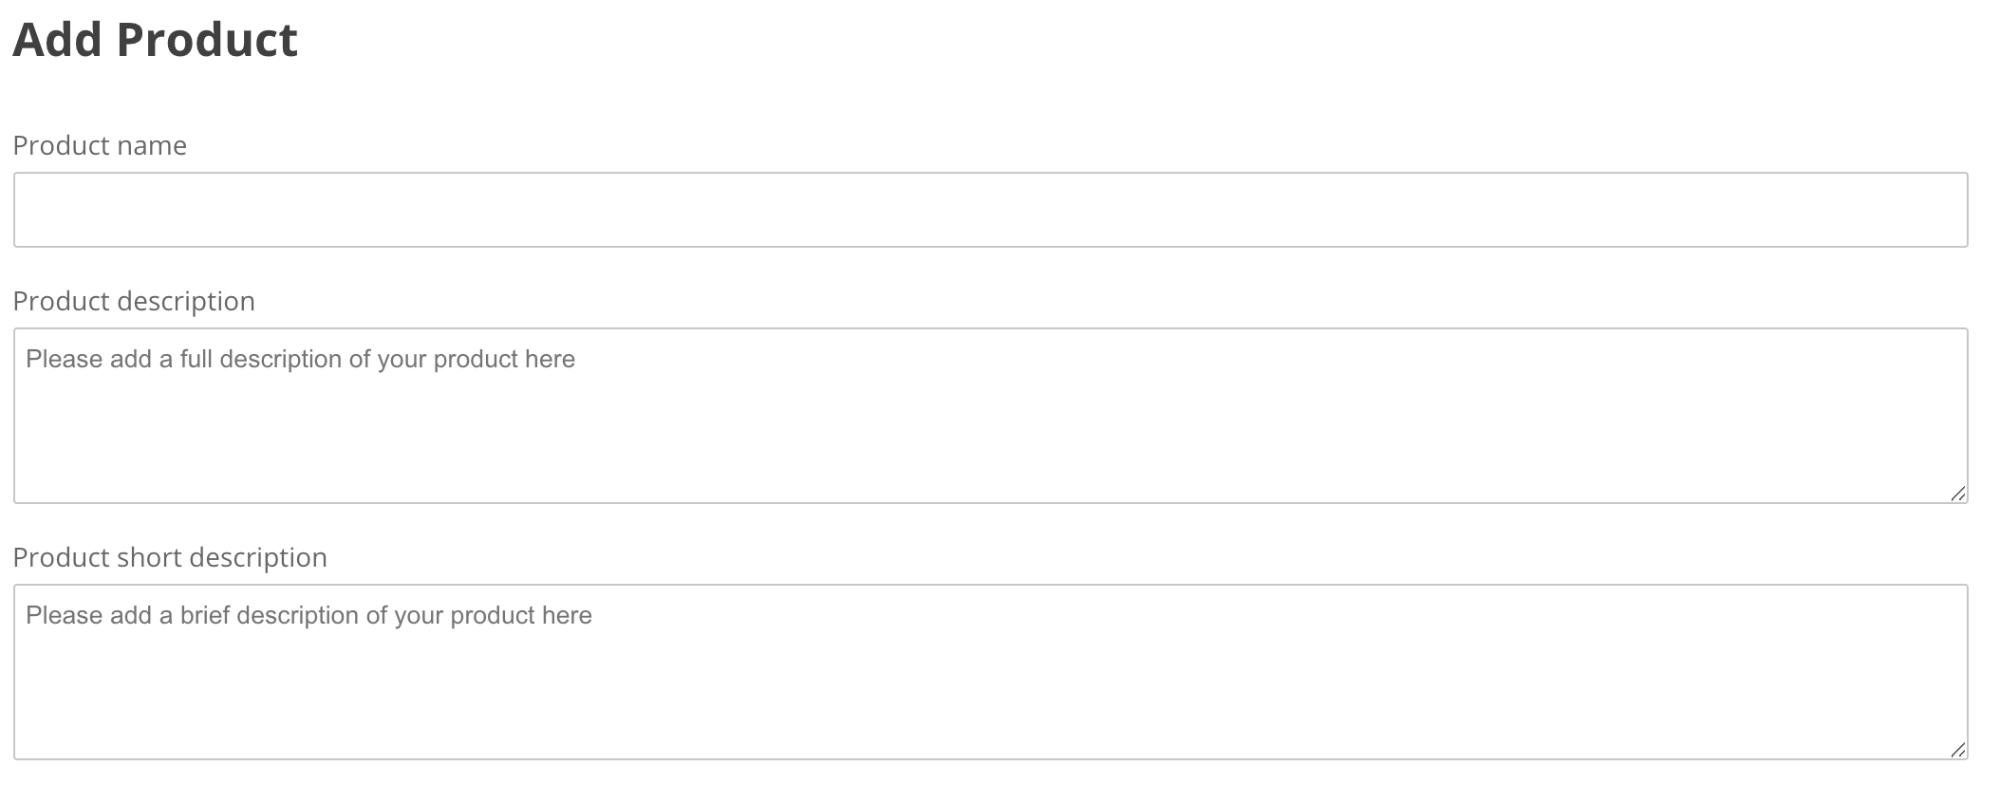
- Add a product name, full product description (you could even include relevant details from the manufacturer website) and a short description (just a brief description of the product and what it does.)
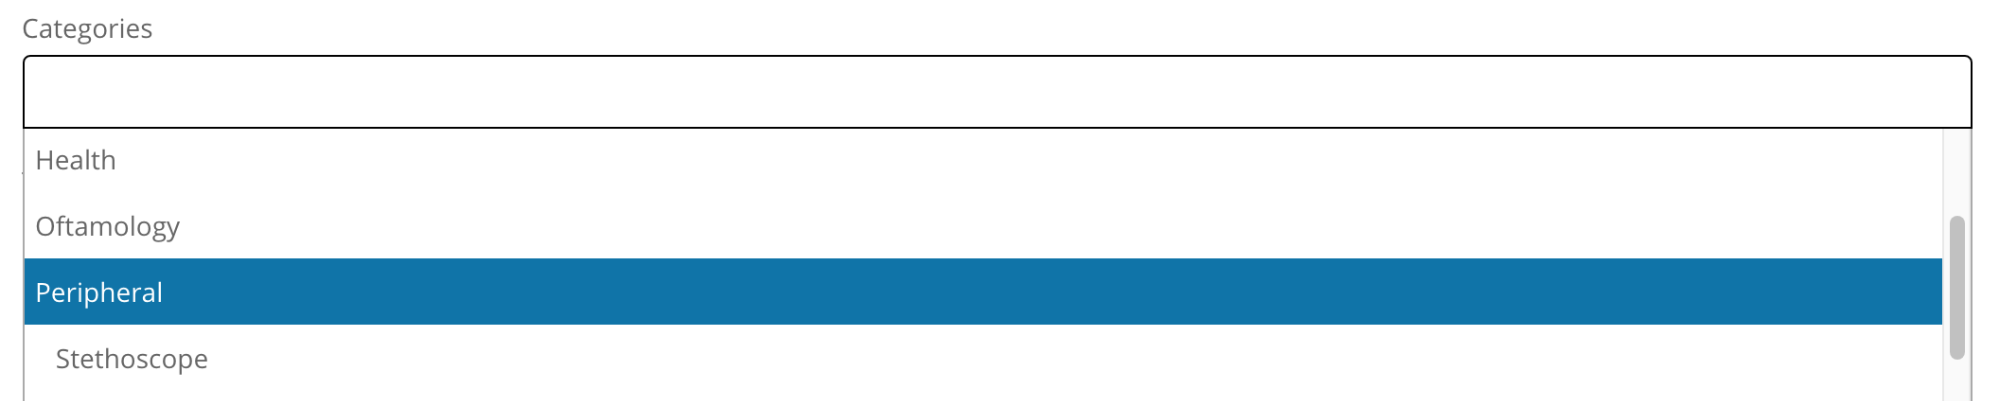
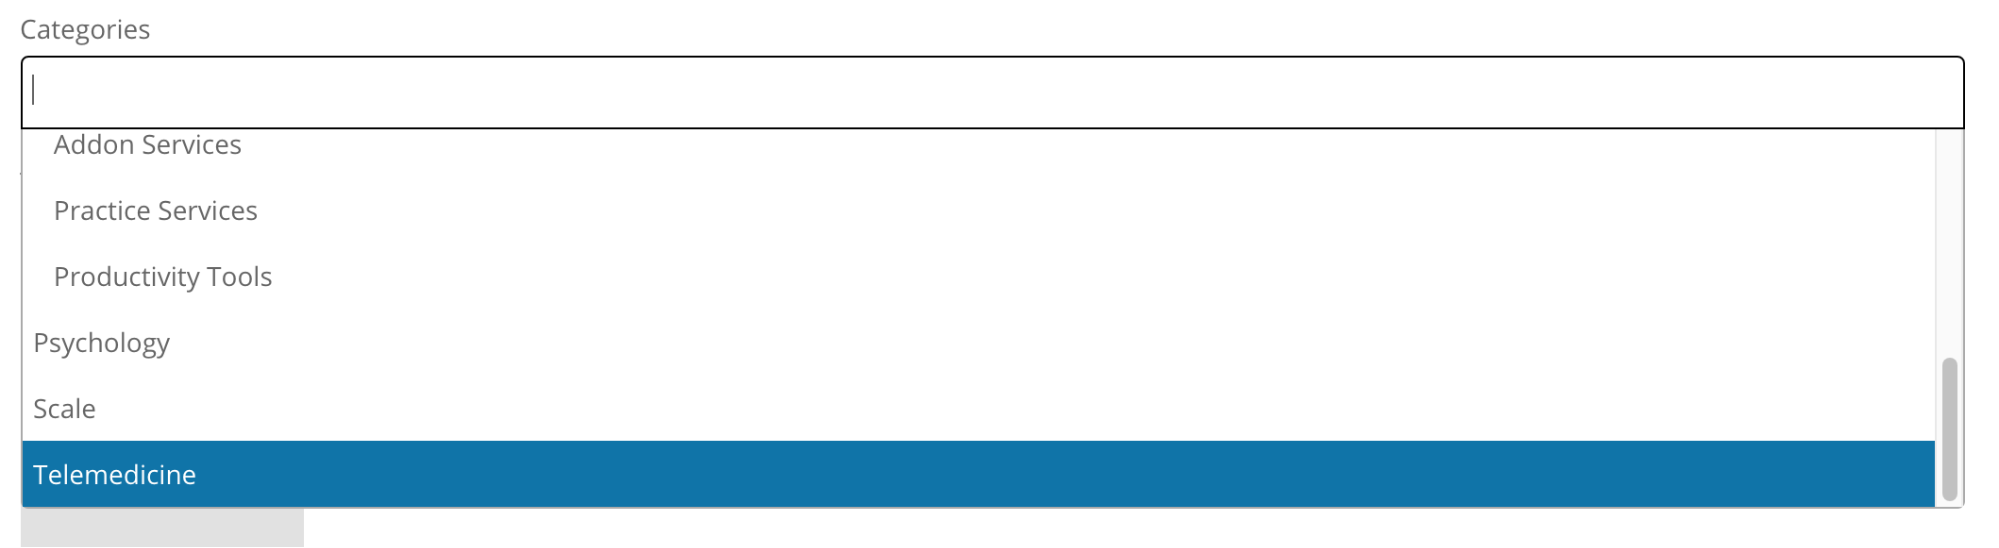
- Select a category or categories from the “categories” field. In the case of a bookable product, you will select peripheral. You can select multiple if they apply.
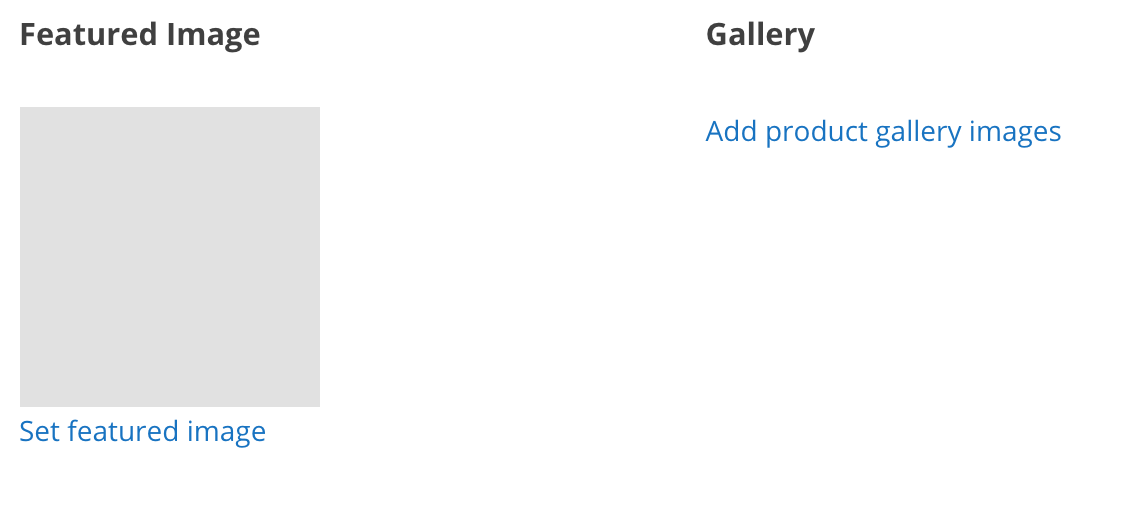
- Upload a featured image for this product by selecting “Set Featured Image”. This image will display on your shop page. Please upload your own image. This should be an image of the product you are selling. If you have multiple images of the product, add one for the featured image and add the rest by selecting “Add product gallery images” under “Gallery”
- If your practice uses Stock Keeping Units (SKU’s) you can add the number under SKU

- If you want this product to not be visible on your shop page (for example to only share with those who might need it) select “Private listing, hide this product from the catalog.” Otherwise, leave unchecked.

- Add the regular price for this product. If you want to have a sale price for this product, you can do so by adding the sale price under “Sale Price”. Schedule the sale dates by selecting “Schedule” and then selecting the dates for the sale.

- Select the tax status of the product and the tax class.

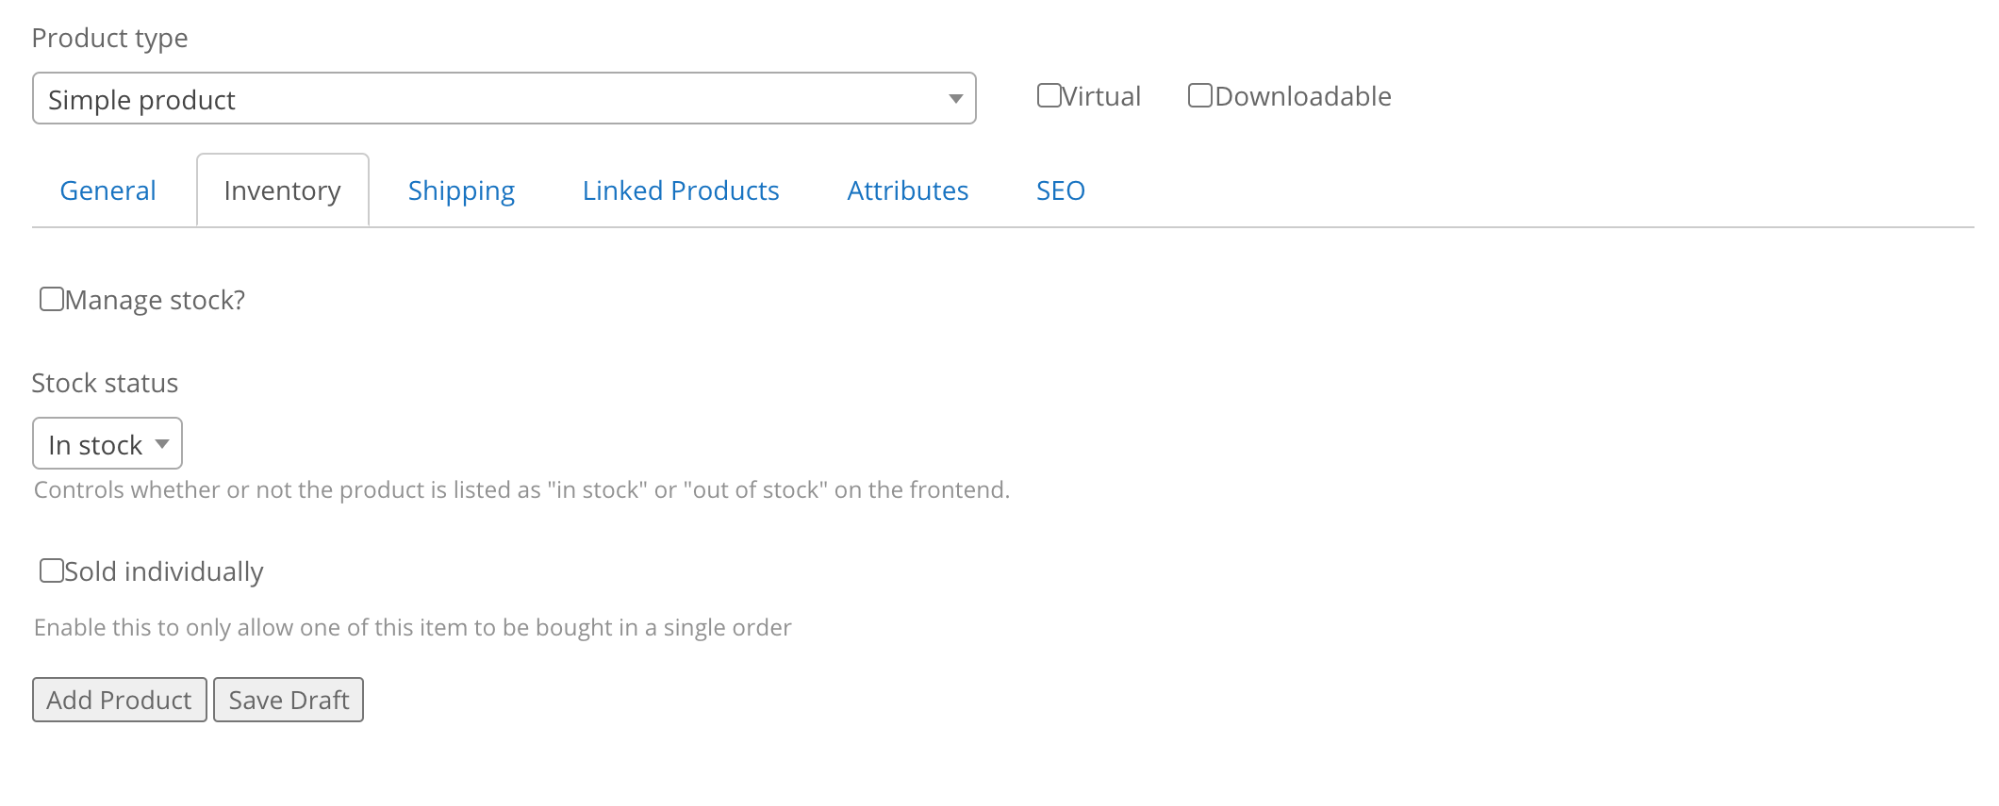
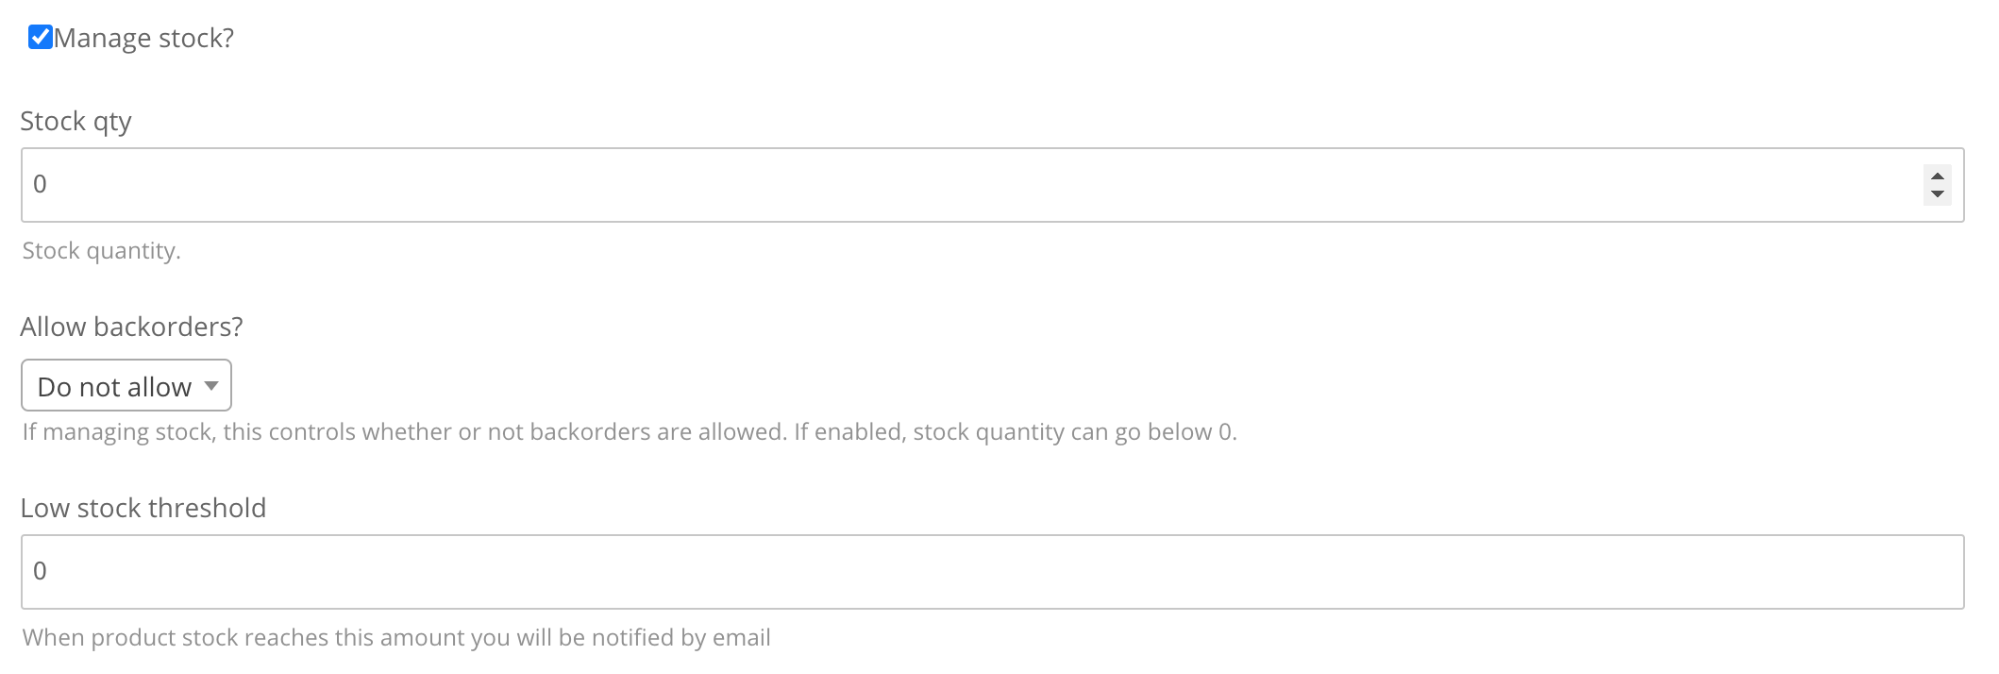
- Scroll back to the “Product Type” section and select the “Inventory” tab. If you want to manage your inventory, select the “manage stock” box. If you don’t, then ignore this option and skip to step 10.
- Add your stock quantity. The system will track the number of sales of products and will note the product as out of stock in your shop when you sell the last one. Determine if you want to allow backorders for this product. This will allow you to continue to sell the product even if you are physically out of stock but record those who have purchased. If you want to be notified when you are running low on inventory, add a number to “Low stock threshold” where, when your inventory reaches that number left, you will be notified by email.
- Select “Sold individually” if you want to restrict the number of the product you want a user to buy to one.

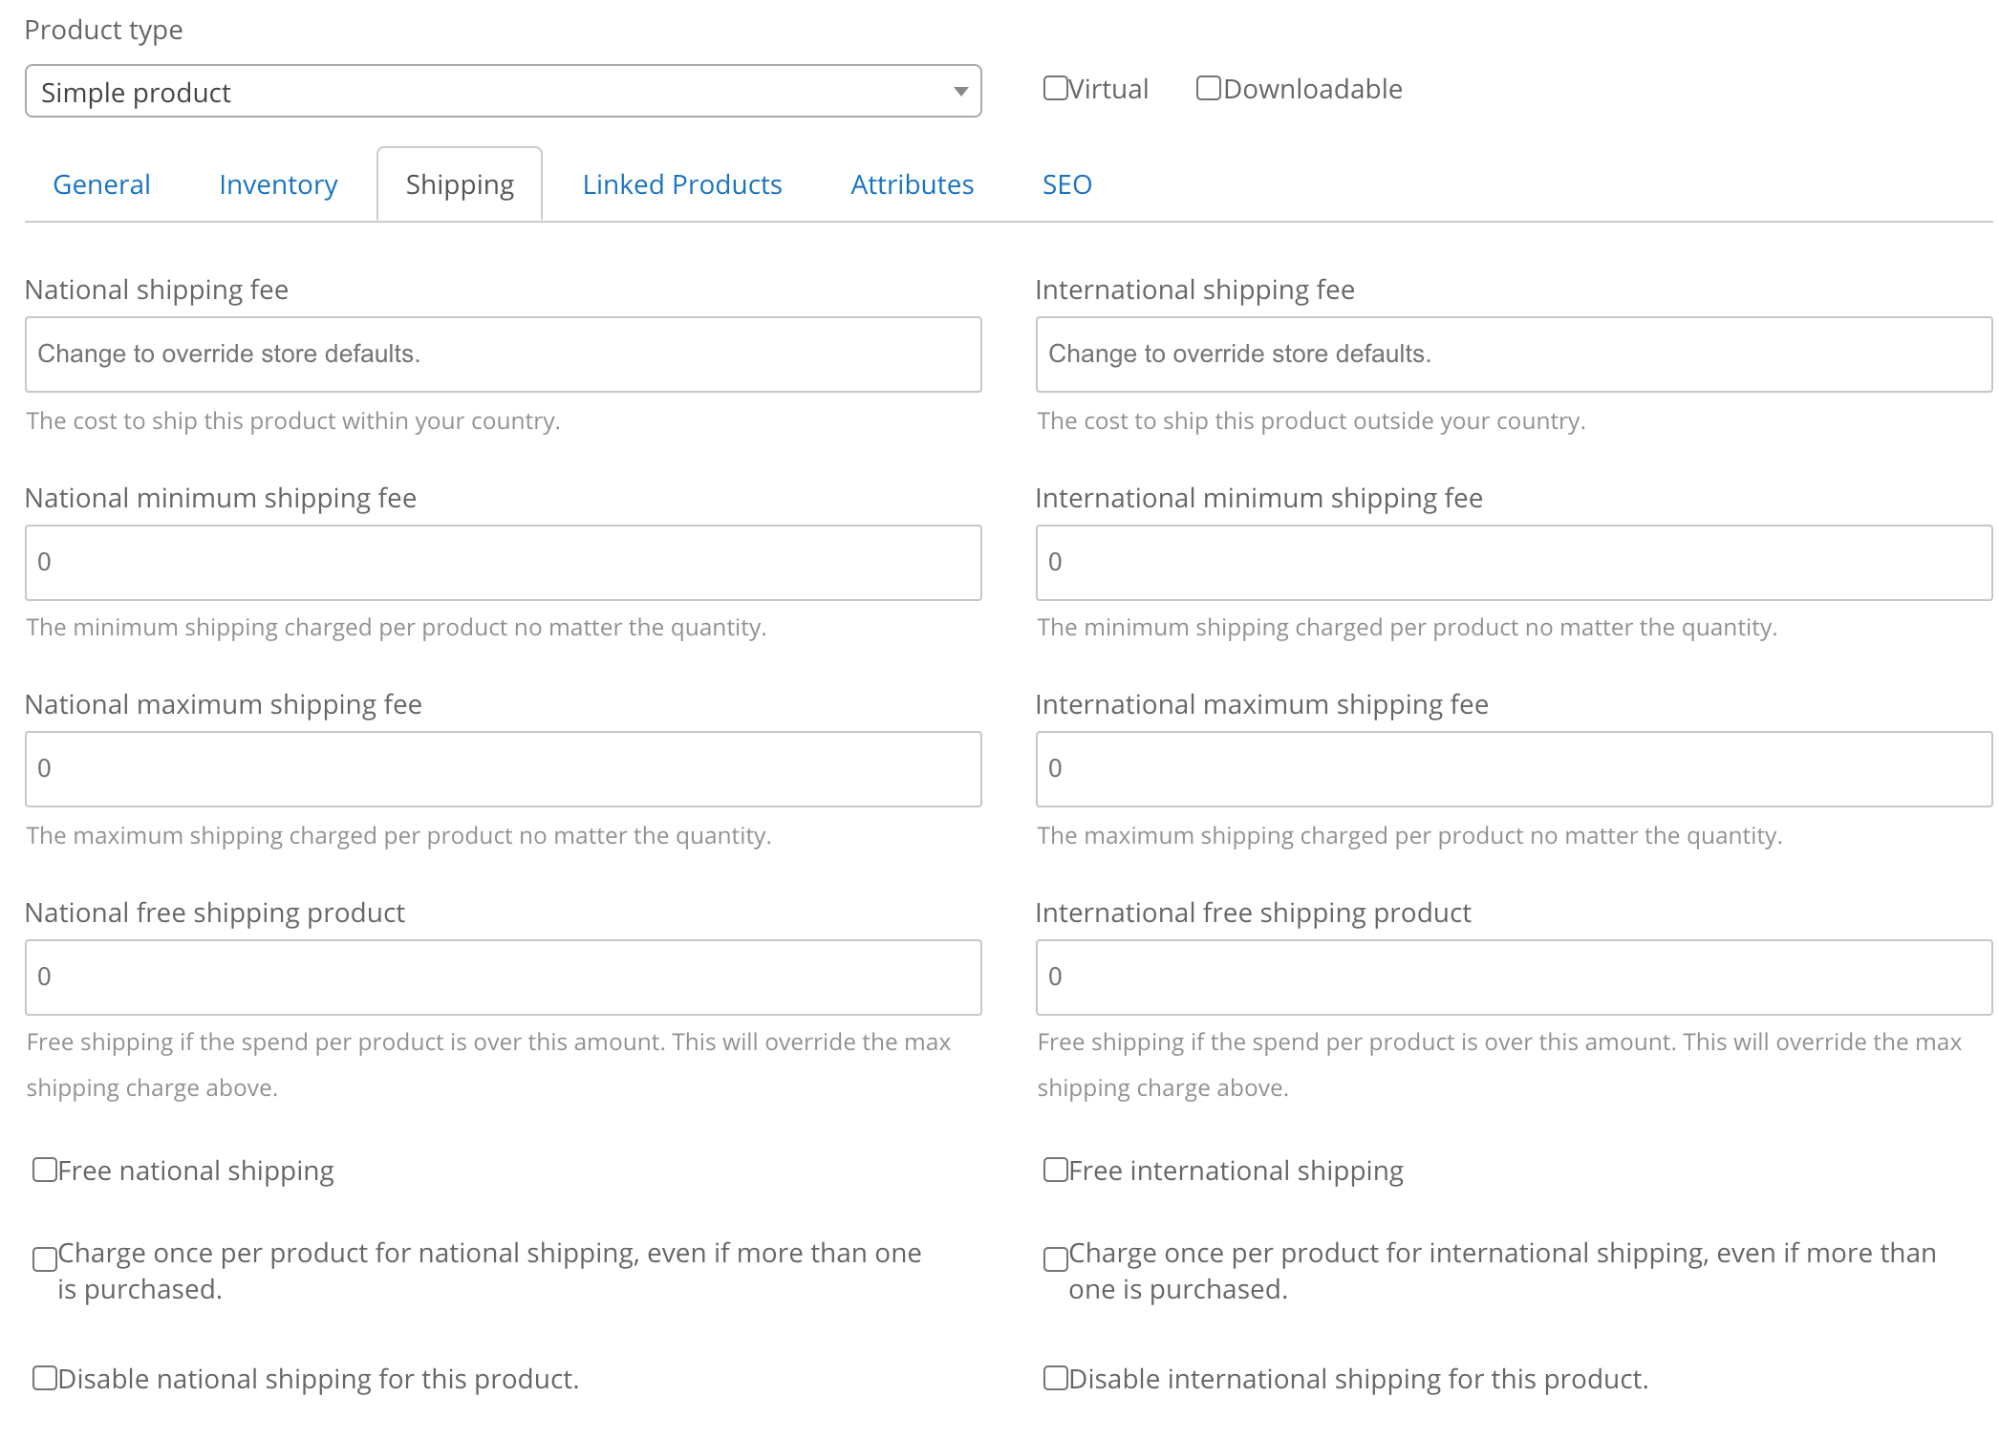
- Scroll back up to the “Product type” area and select “Shipping.” This is where you can select product-specific shipping options if they vary from the shipping options you set up under your store (See Store Shipping here). To learn more about the options available on the Product Shipping tab, follow this link.
- Verify all of the information you added is correct and then select “Add Product.” Alternatively, you can select “Save Draft” to save your progress and return to set up the product later.
Add A Bookable Product #
My Store Dashboard > Products > Add Product
Example Task #
You want to add yourself as a doctor that a patient can select to view your availability and book a time slot.
Instructions #
- Add a product name, full product description (including exactly what the patient can expect out of this booking) and a short description (just a brief summary of what the patient can expect out of the booking.)
- Select a category or categories from the “categories” field. In the case of a bookable product, you will select telemedicine. You can select multiple if they apply.
- Upload a featured image for this product by selecting “Set Featured Image”. This image will display on your shop page. Please upload your own image. This could be your logo, but we recommend either a stock photo or a photo of the doctor who will be talking with the patient.
- Under “Product Type” select “Bookable Product”

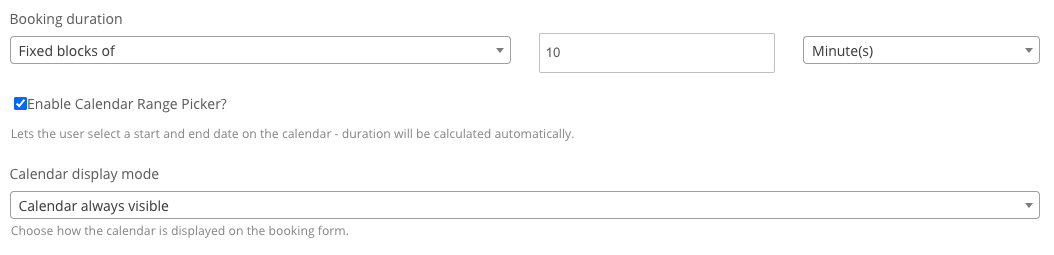
- Select the booking duration. If the appointment requires a buffer period between bookings, we recommend creating time slots that round out to 15, 30, 45 or 60 minute intervals. So, to keep a block rounded to 15 minutes and add a buffer period of 5 minutes, you would want to sell a 10 minute telemedicine call and add a 5 minute buffer period. Select “Fixed blocks of” and enter “10” and select “Minutes”. Select “Enable Calendar Range Picker” to display a calendar of options to your patients to select from. Select “Calendar Always Visible”.
- If you want to allow the patient to cancel their booking, you can do so by selecting “Can Be Cancelled?” You can select how long before their booking they can cancel. For example, if you want to allow patients to cancel their booking up to 2 days before their booking, you can do so by entering “2” under Bookings can be canceled until” and selecting “Days” under the “Before the start date” dropdown.

- Scroll back to where you selected the Product Type and select “Costs” to add the costs to the product. For our purposes, we will add our pricing into the Base Cost line.
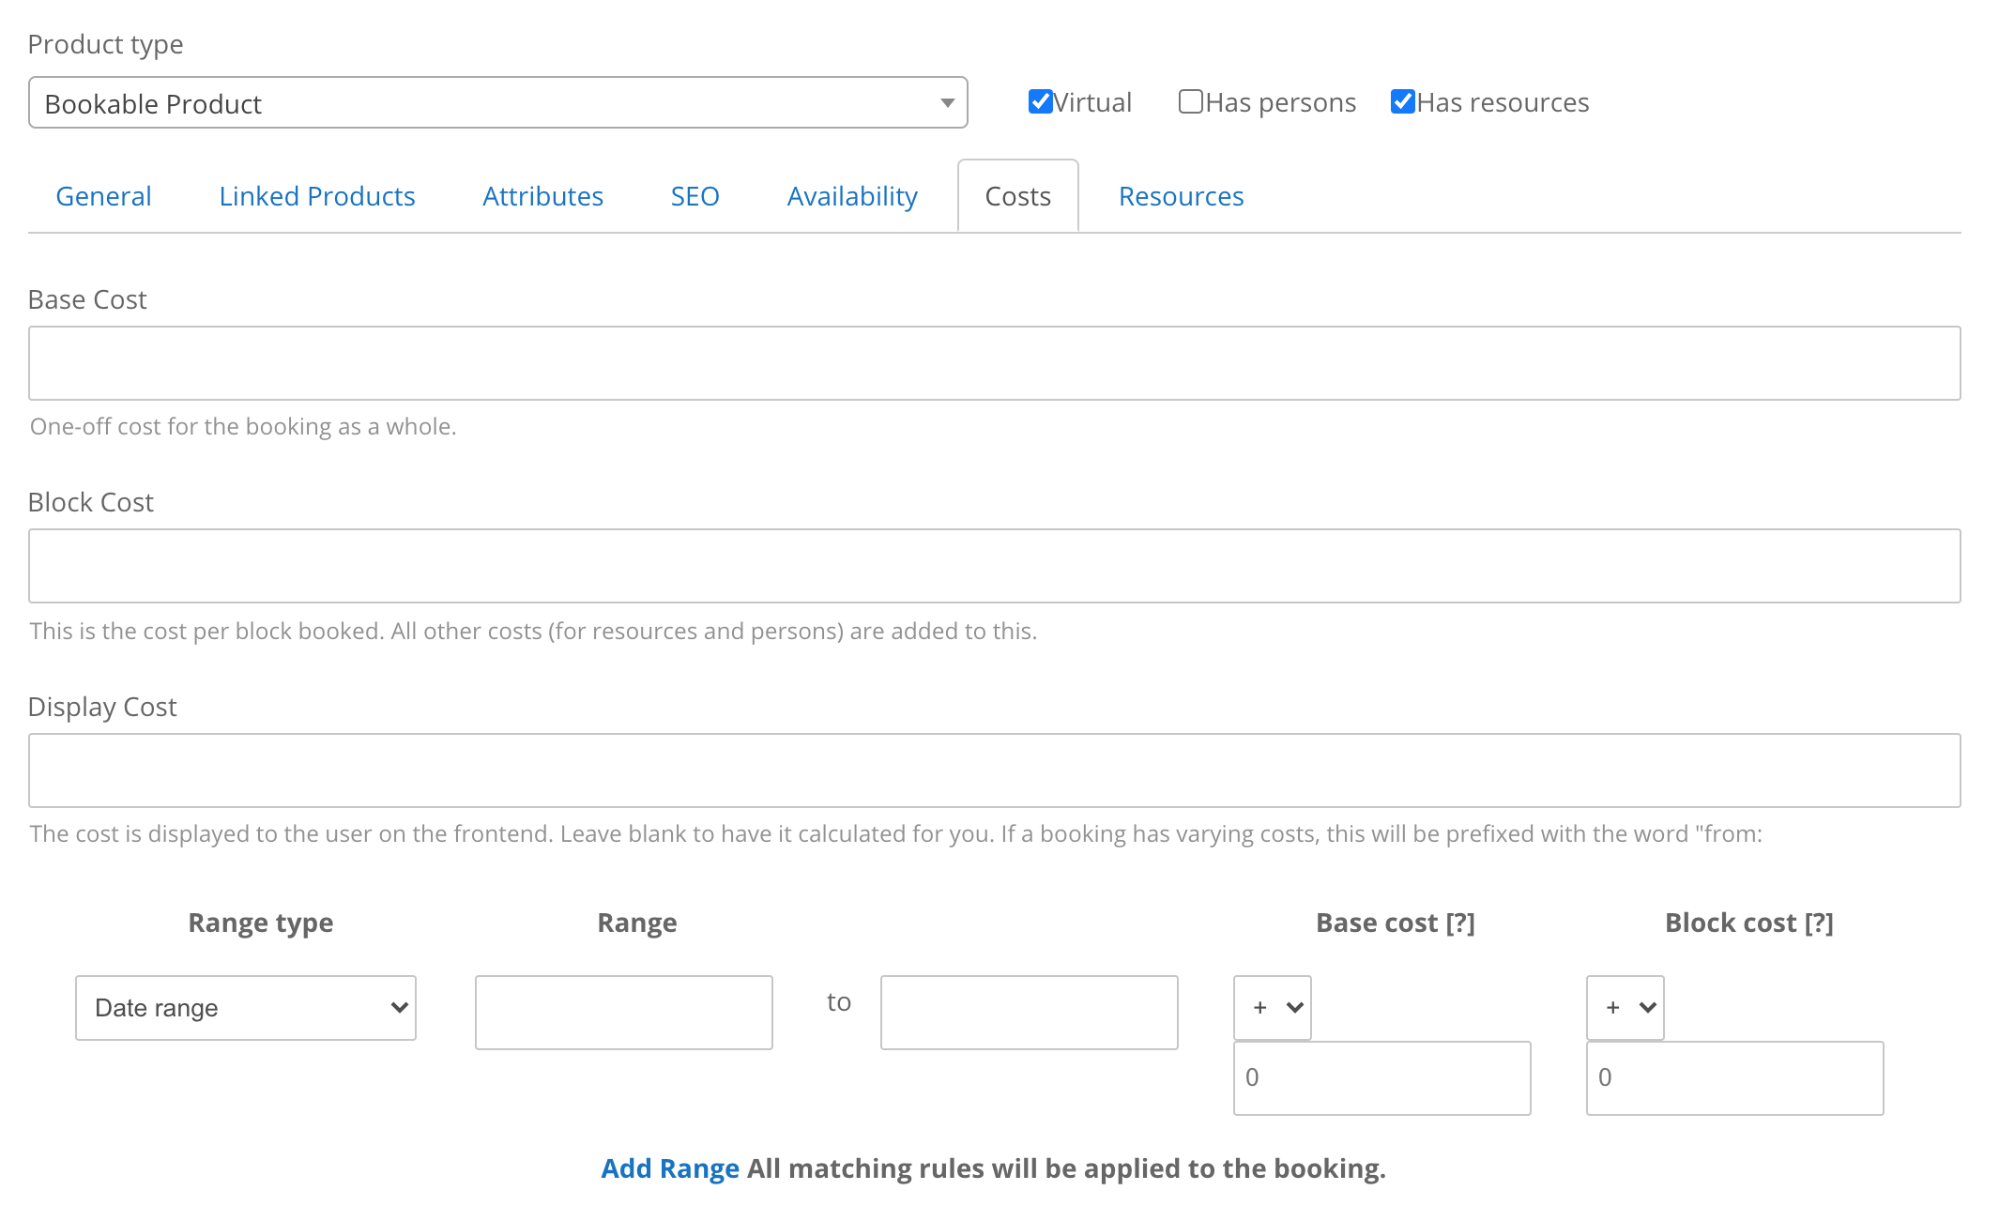
- To increase or decrease the cost of this booking based on defined rules (ie. increased cost on the weekend.) If we wanted to add an extra $15 to the cost of Saturday bookings for this product, we would add the following rule.

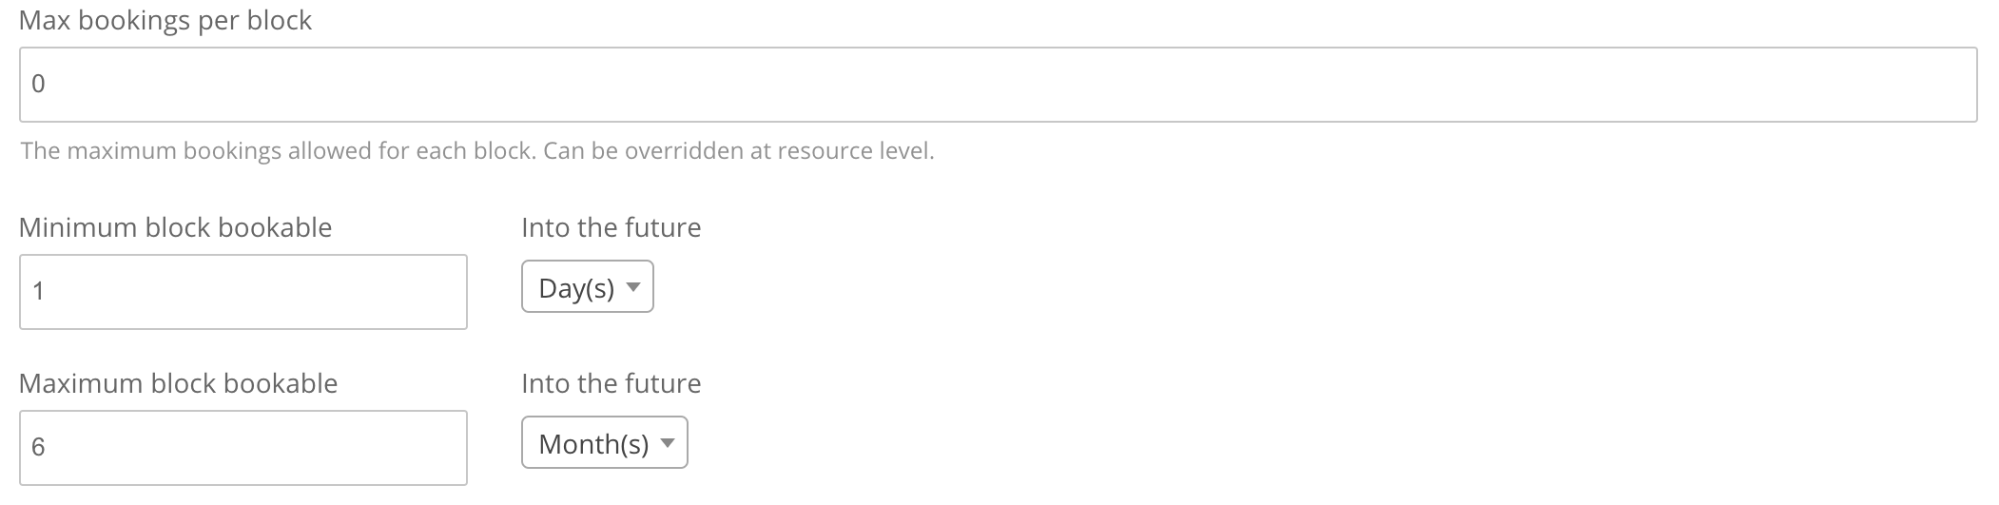
- Scroll back up to “Product Type” and select the “Availability” tab. Disregard “Max bookings per block” as this gets overwritten by a doctors availability.

- Select how far into the future a patient can book. The minimum is the minimum amount of time before the date to book and the max is how far out you want to push your availability. In this example, a patient can book no earlier than 1 day before the date of the appointment and cant book no further than 6 months into the future.
- If the appointment requires a buffer period between bookings you can add that amount of time here. We recommend creating time slots that round out to 15, 30, 45 or 60 minute intervals. So, to keep a block rounded and add a buffer period of 5 minutes, you would want to sell a 25 minute telemedicine call and add a 5 minute buffer period

- Scroll down to “All dates are…” and select “not available by default.” This will ensure that the doctors availability will be used for this product.
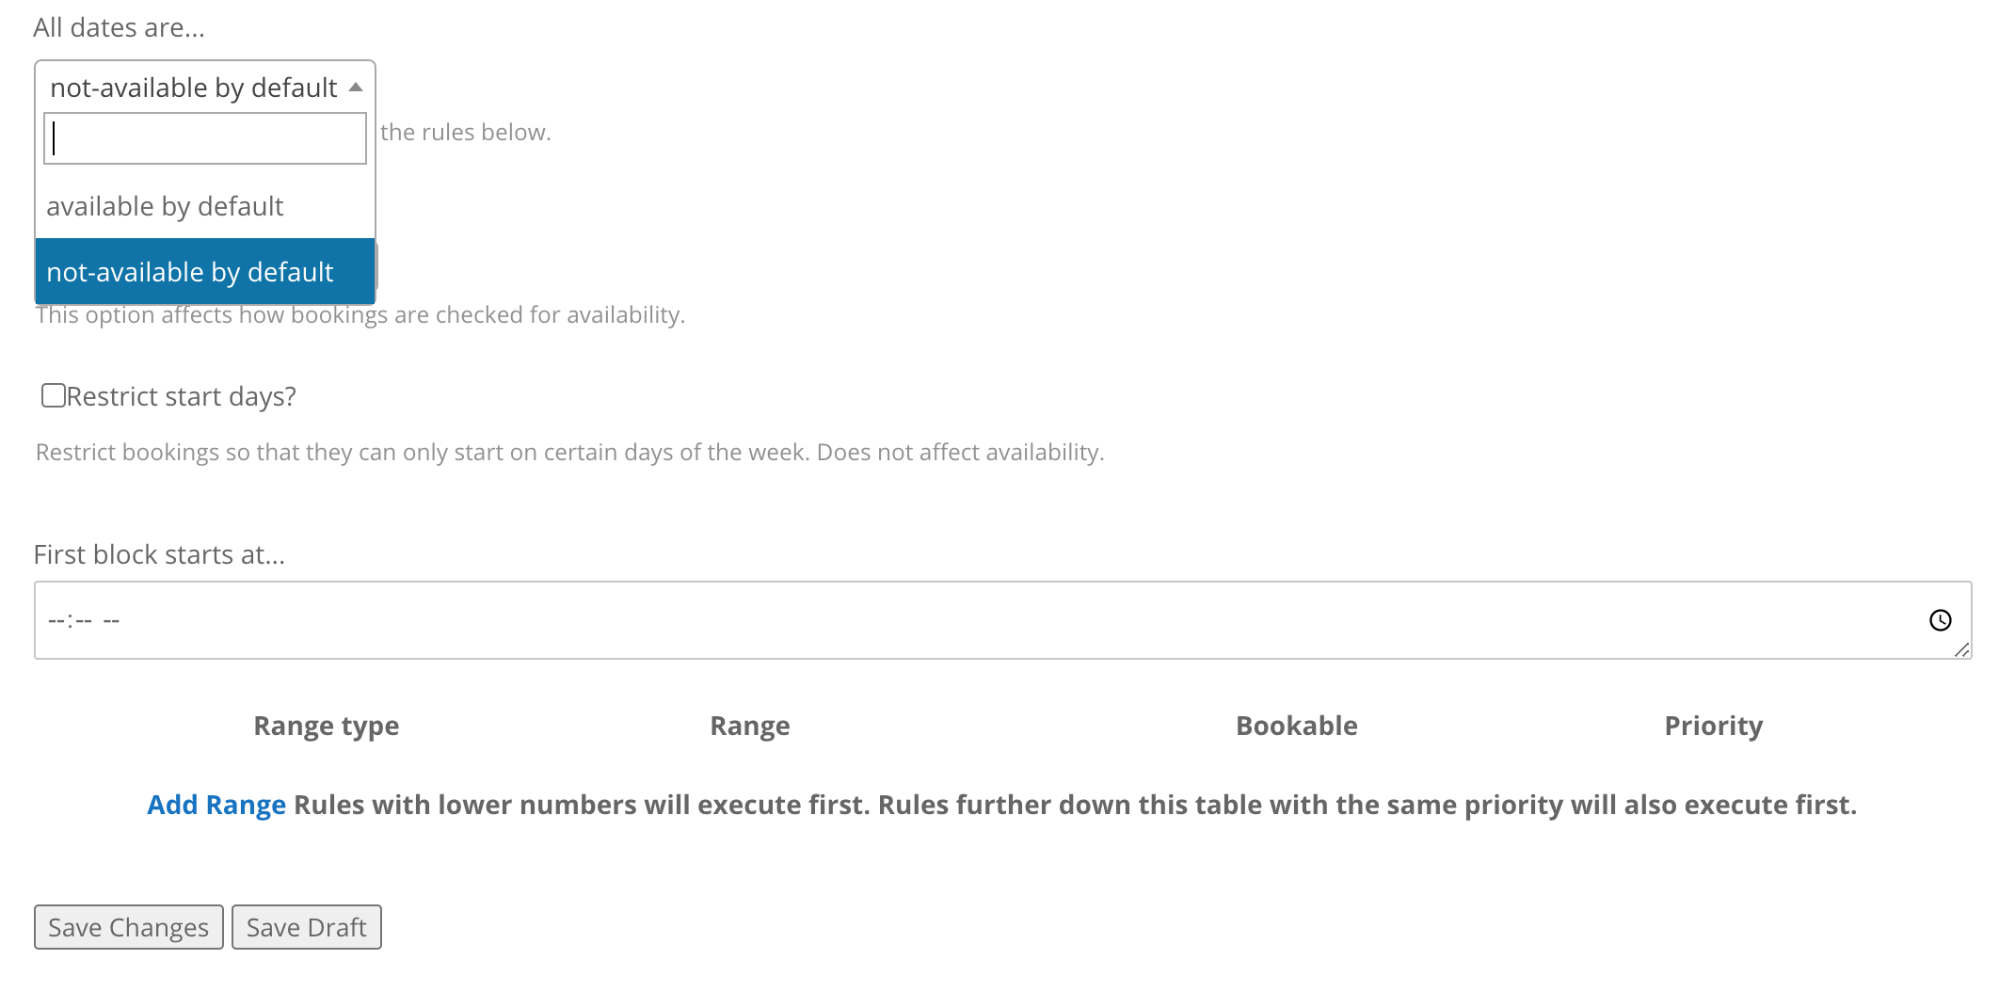
- Select “Save Changes” or “Save Draft” to continue working on this product later
Add Up-Sells and Cross-Sells #
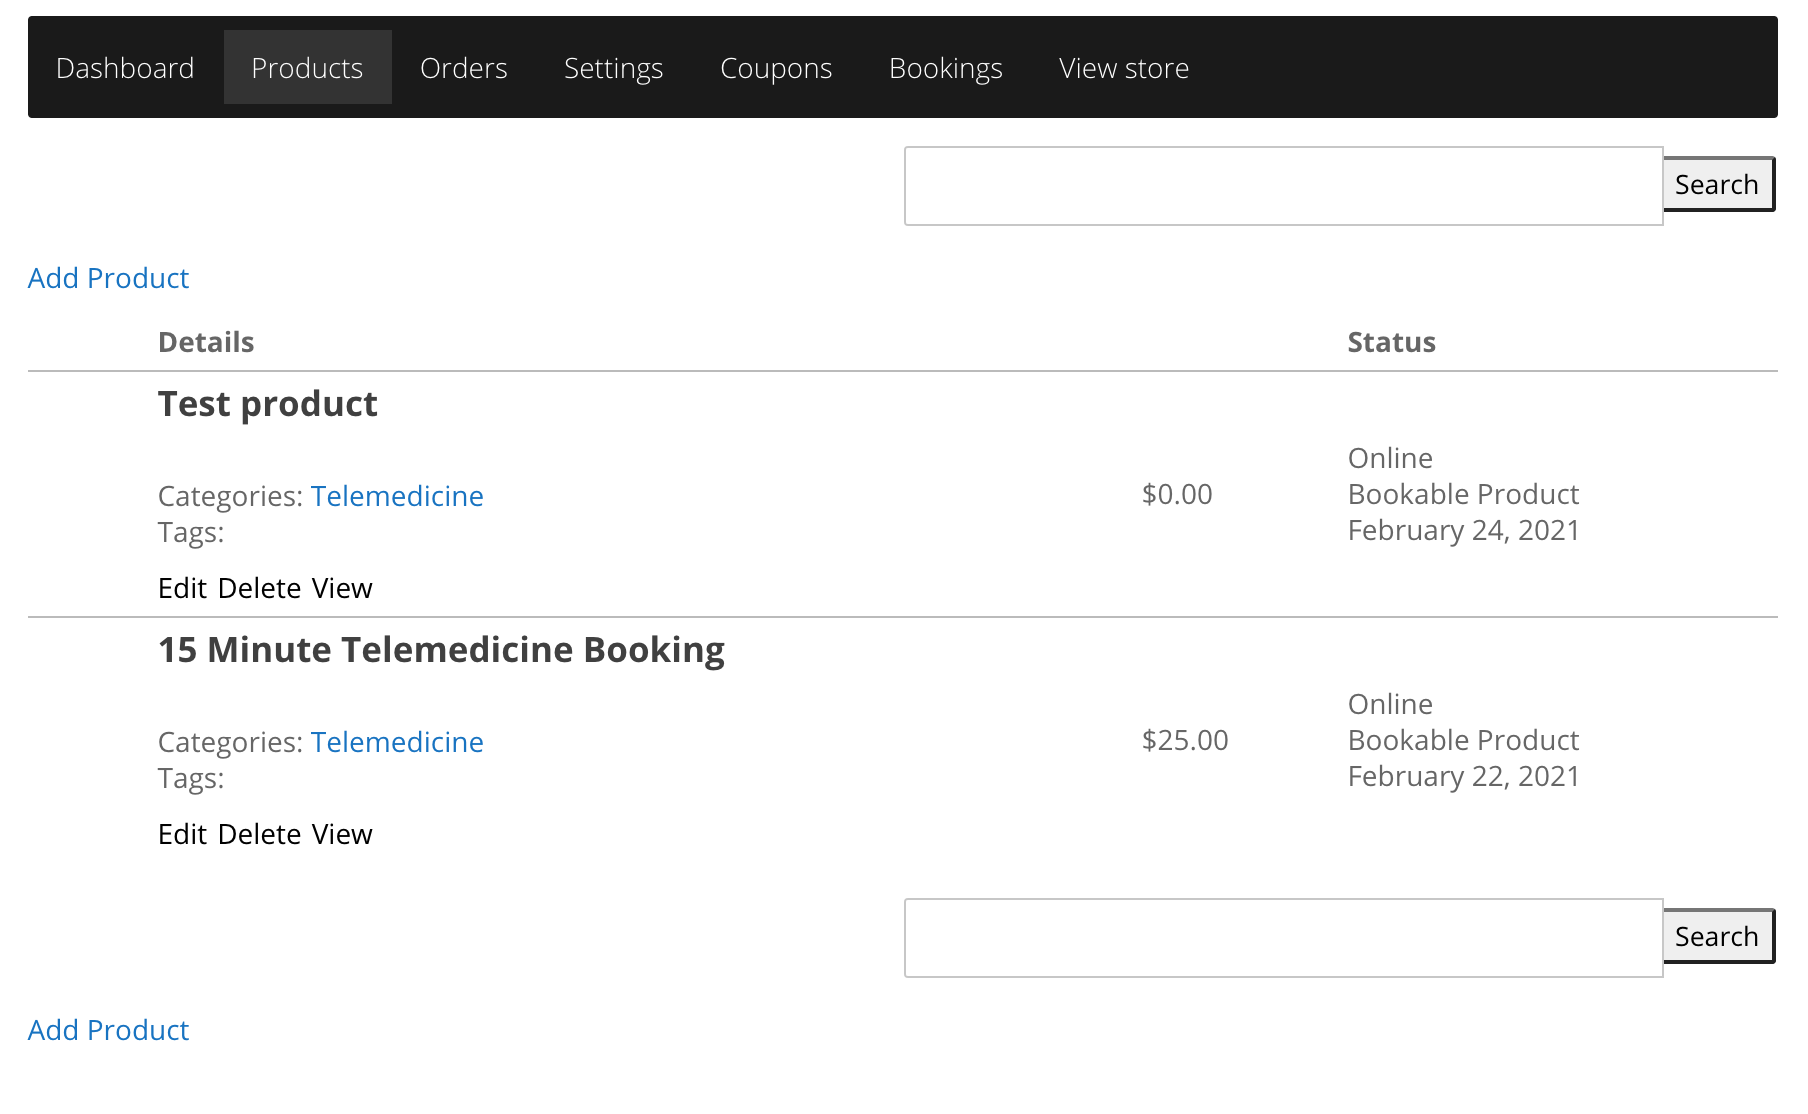
My Store Dashboard > Products > Select Product
Example Task #
You want to add a blood pressure cuff peripheral as a cross-sell for anyone booking a 15 minute daily check-in.
Instructions #
Note: Before beginning this process, any products that you want to add as up-sells or cross-sells need to be added in the system.
- Select a previously created product by selecting “edit” or create a new product
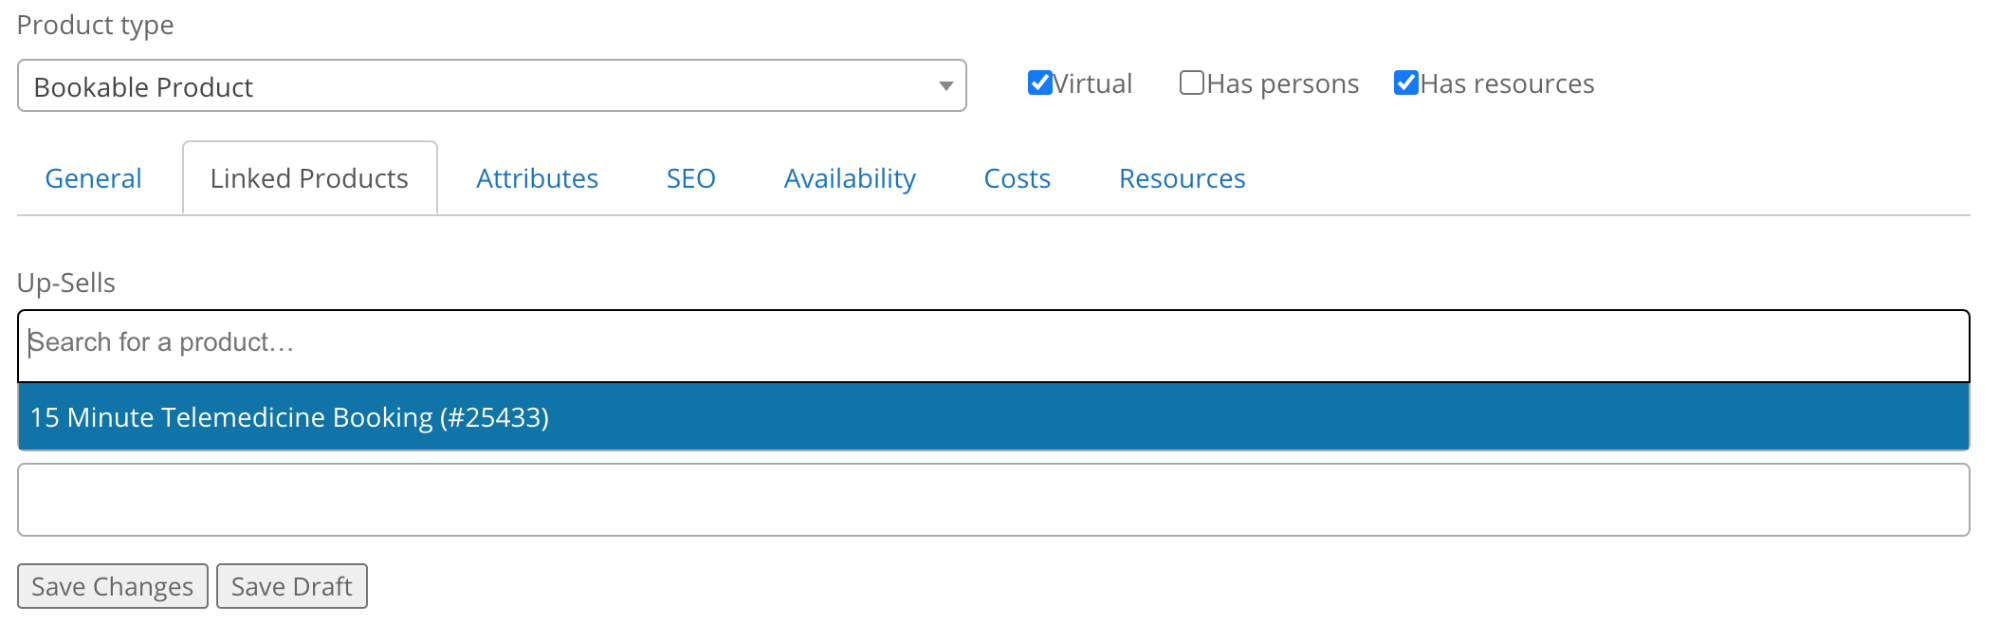
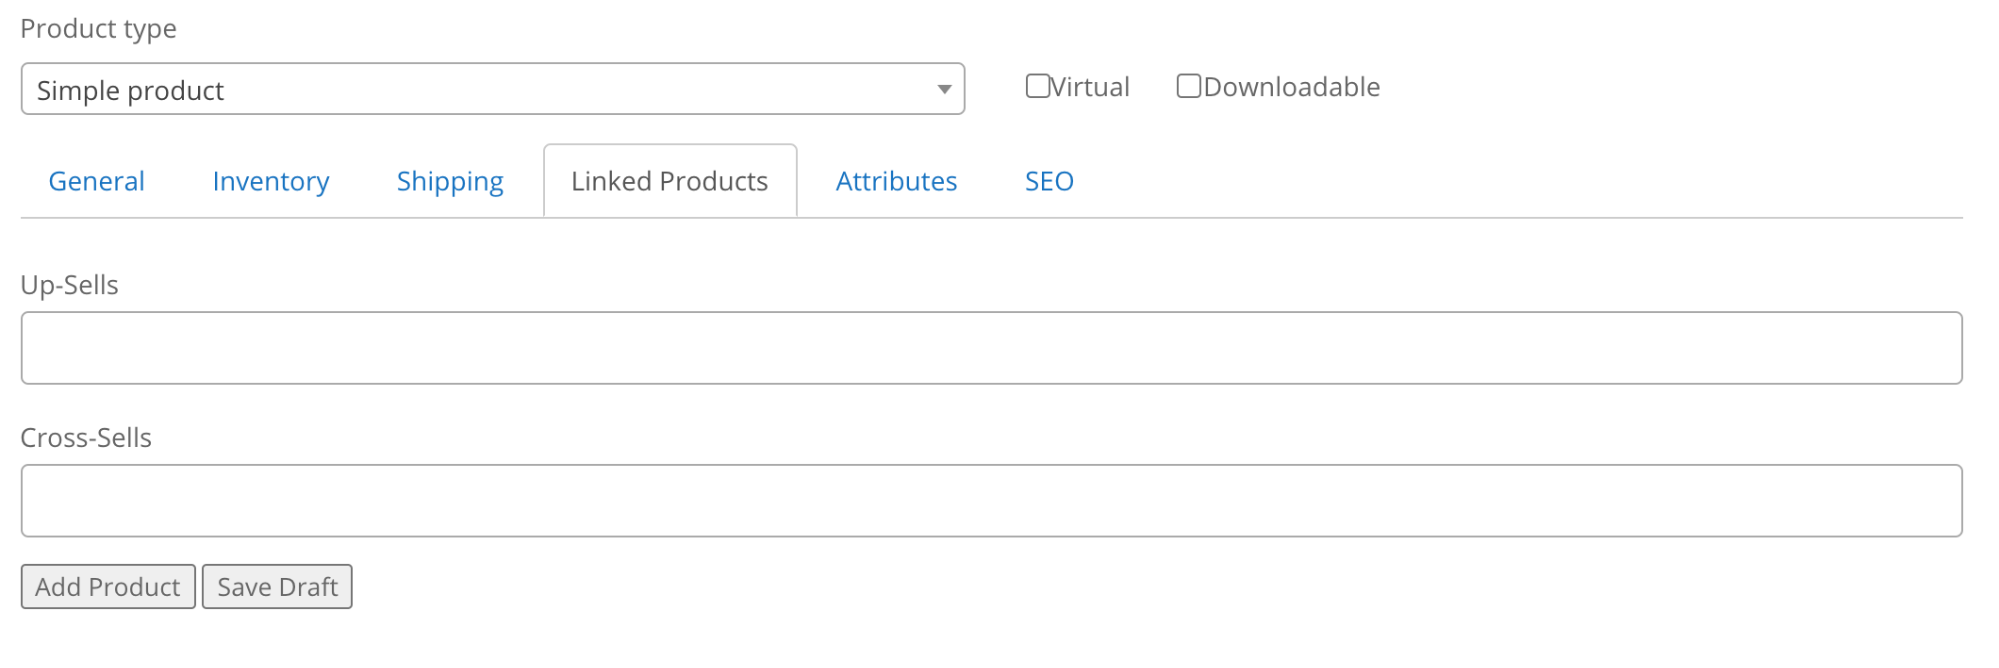
- Scroll down to “Product type” and select the “Linked Products” tab

- Search for the product name you want to use as an up-sell or cross-sell and select it. You can add multiple up-sell or cross-sell products to one product. Select “Save Changes” when you are done.


