Table of Contents
Add A Doctor #
My Store Dashboard > Bookings > Add Resource
Example Task #
You want to add yourself as a doctor that a patient can select to view your availability and book a time slot.
Instructions #
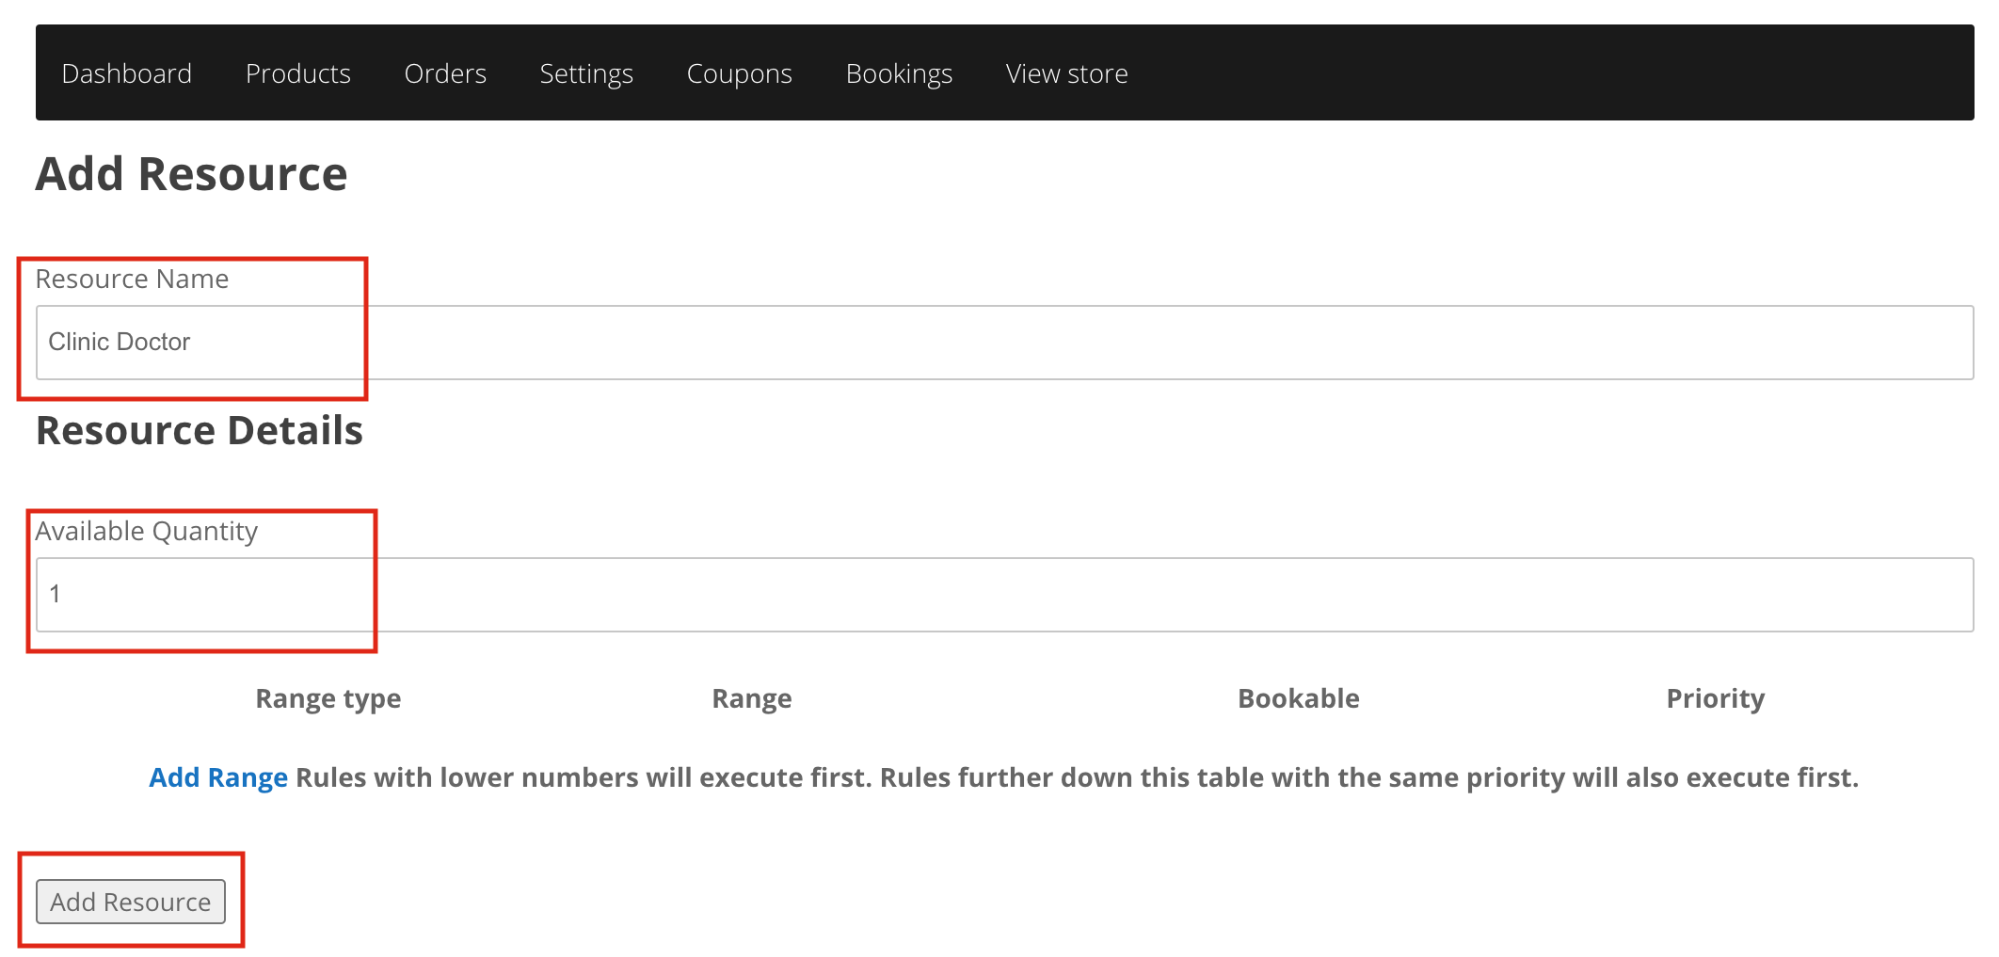
- Select “Add Resource”. In the future, this is where you will also find all of your doctors and can change their schedules.

- Add a resource name (the doctors name) and Availability Quantity is set to 1. Select “Add Resource” to save this doctor.
Add or Modify A Doctors Availability #
My Store Dashboard > Bookings > Add Resource
Example Task #
You want to set up or modify the availability for a specific doctor in your clinic or practice. You want to add the following schedule for yourself:
- Operating hours 9:00am – 5:00pm Monday through Friday and Saturday 11:00am – 3:00pm
- A daily lunch break from 12:30pm – 1:30pm
- You are taking a week-long holiday from December 20 – December 27
Instructions #
- Select the “Edit” link under the resource you want to add a schedule to or edit

- Select “Add Range”
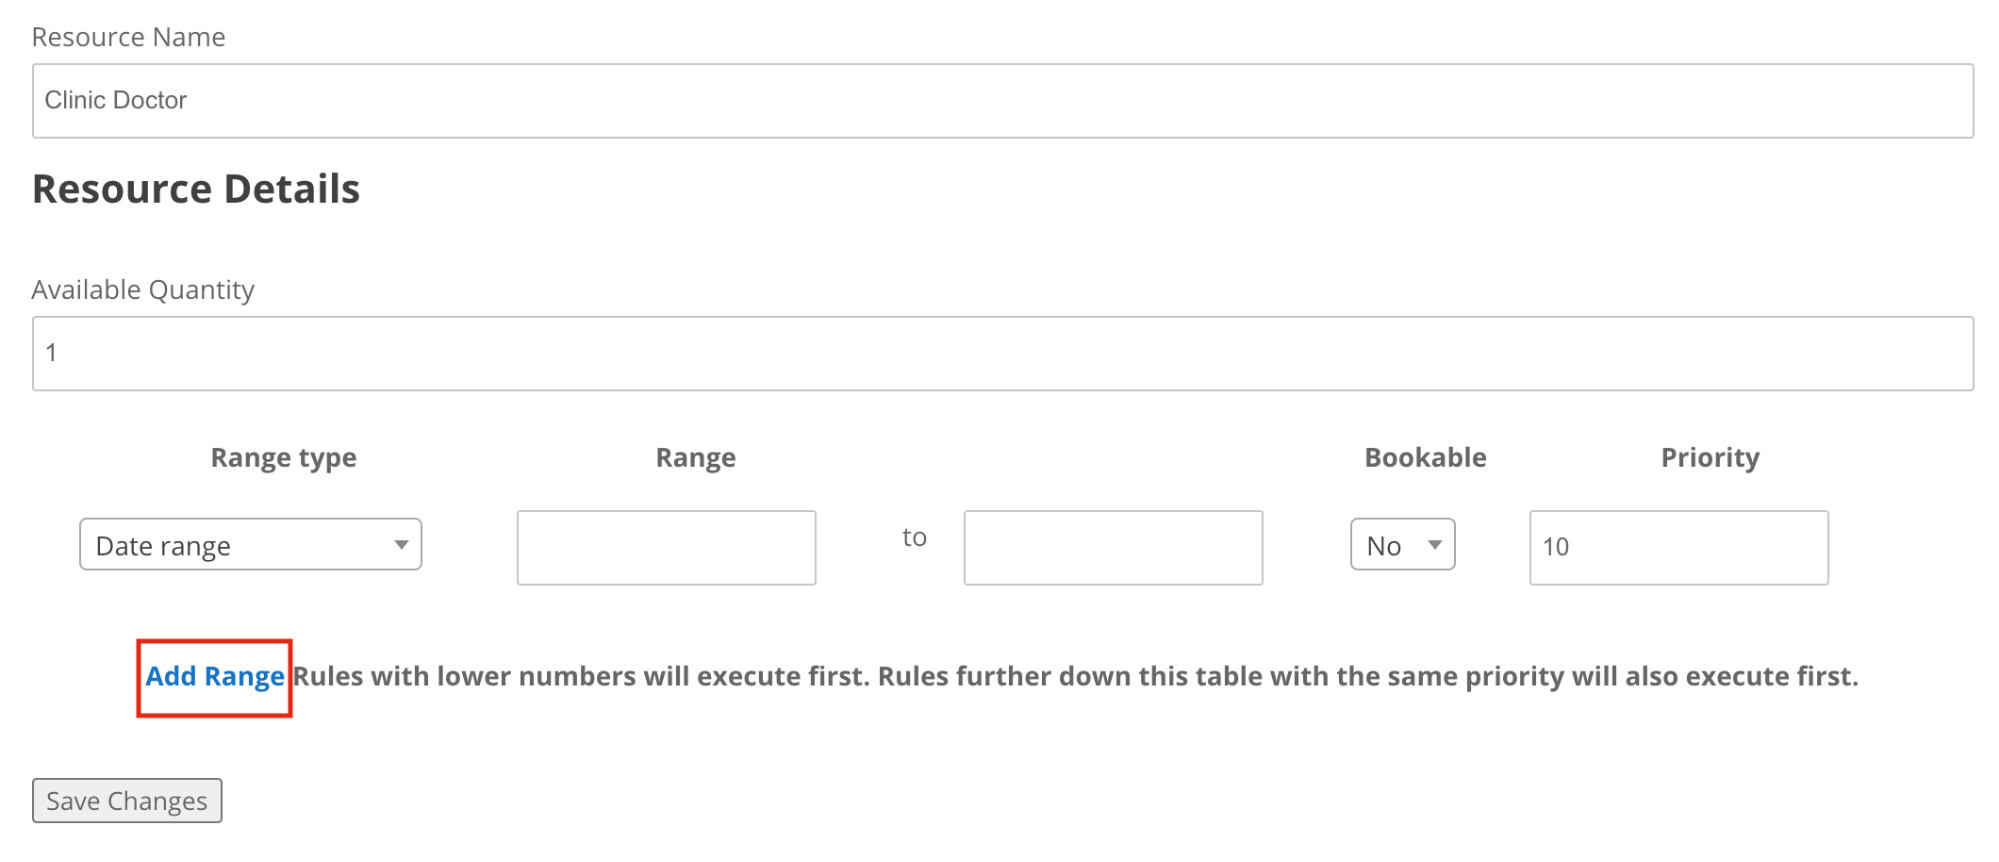
- You create your schedule by applying specific rules for the calendar to follow.
- Range Type: the timeframe you are selecting. Most schedules will use “Time Range” since bookable time slots are generally only available during operating hours. “Date Range” is good for when you are taking a set amount of time off where you will have no availability.
- Range: The specifics of the range type you selected
- Bookable: Tells the schedule if you are available or not during that time
- Priority: Tells the schedule what other rules this rule should overwrite and which other rules overwrite it.
- To create the schedule from the example, see the following layout
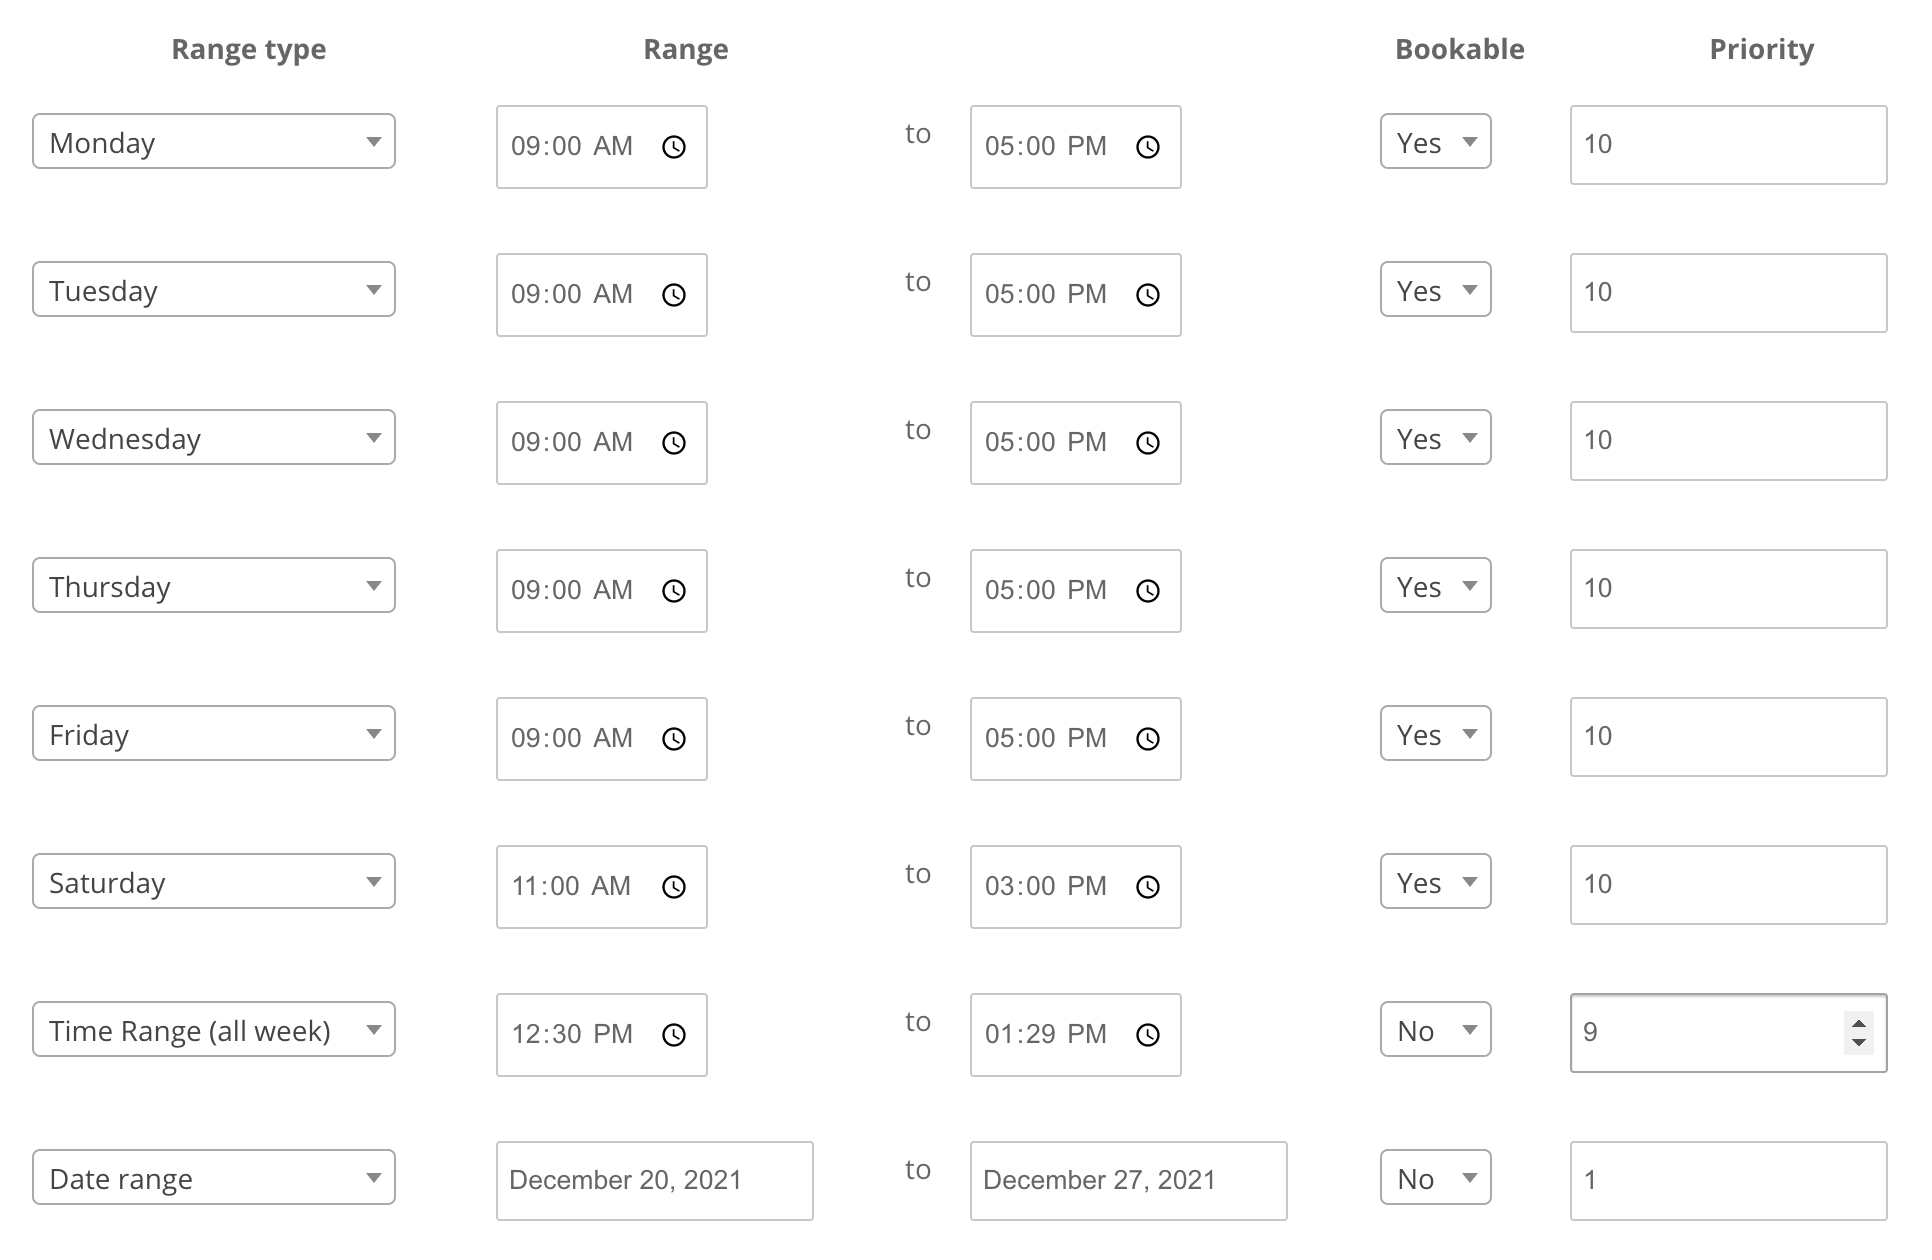
Notice that the lunch break is set from 12:30pm to 1:29pm. This is to ensure that any potential bookings will become available at 1:30pm.
Add a Doctor To A Bookable Product #
My Store Dashboard > Products > Add Product
Example Task #
You want to assign a doctors schedule so a patient can book a time slot with that practitioner
Instructions #
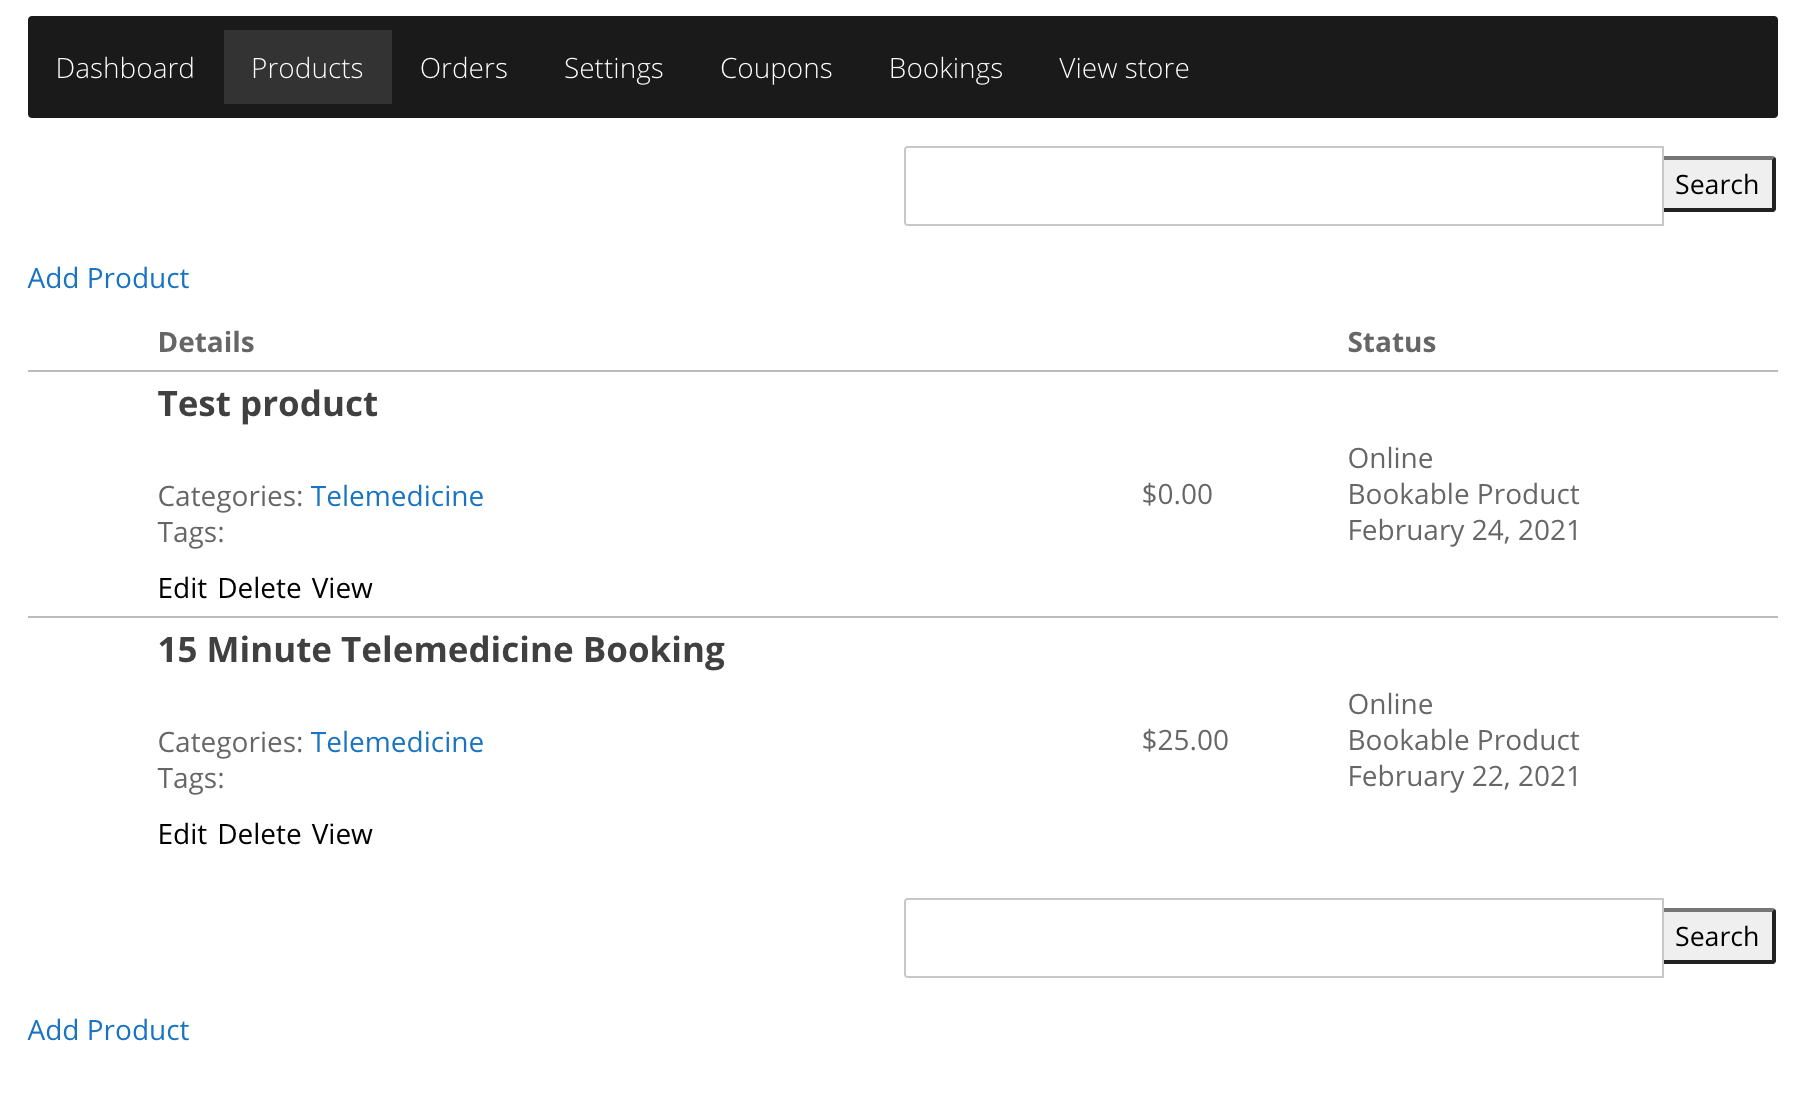
- Select a previously created product by selecting “edit” or create a new product
- Check the “Has Resources” box and then click “Has Resource.”

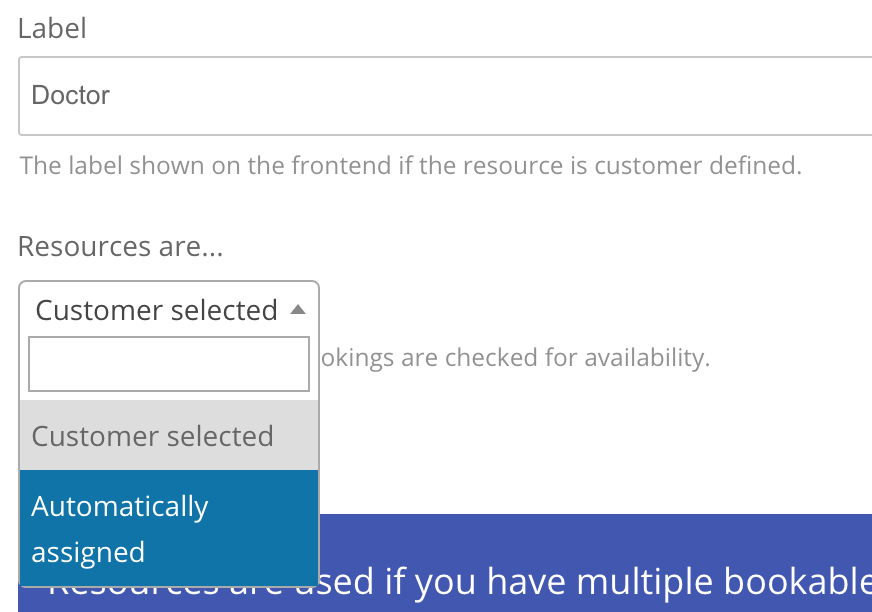
- Under “label”, write in “Doctor” and then determine if you want the user to select which doctor they pick. In a clinic where there is only one doctor, select “Automatically Assigned” and if you will have multiple doctors schedules under this bookable product, then select “Customer Assigned” and the customer will be able to select which doctor they want to book with. This also saves you time by not having to create multiple products for different doctors.
- Under the “New Resource” dropdown option, find the doctor you just added or add a new doctor. Select “Add/Link Resource” to add the doctor to the product.
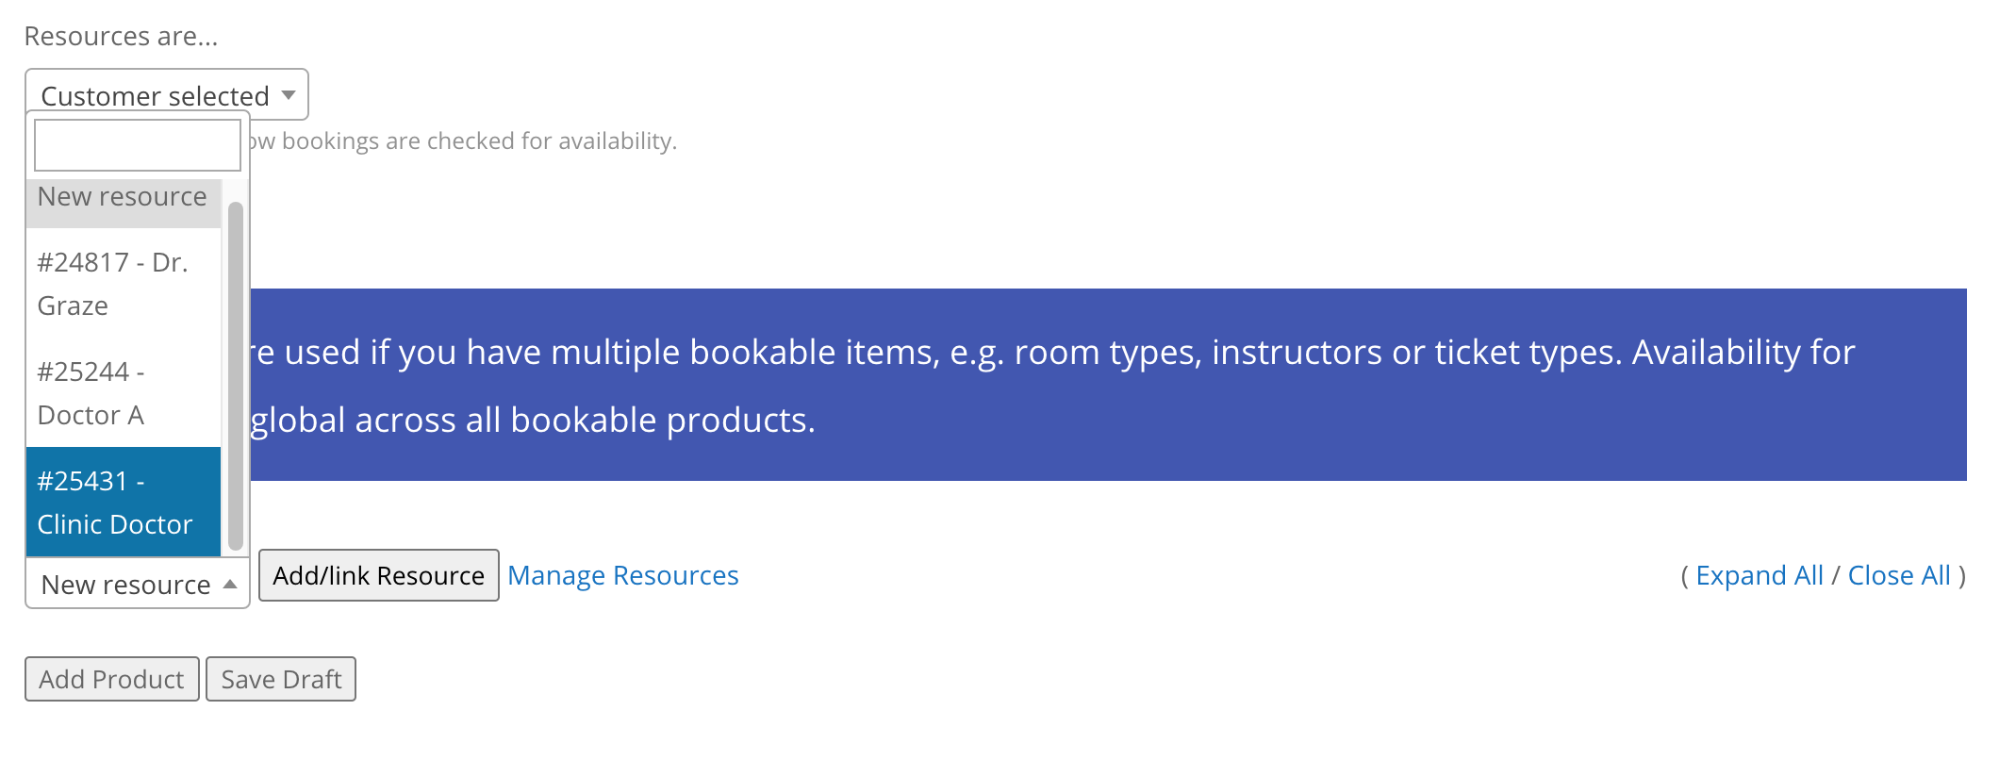
- Select “Add Product” to submit it for review or “Save Draft” to finish creating or editing the bookable product later.


